motherhood

Delicious, Simple, Must Make Cinnamon Rolls

ashley glass blog

Making homemade cinnamon rolls has always been an intimidating thought for me…it always seemed like so much dang work. I won’t say this was incredibly fast, but it’s a straightforward recipe and I am so excited to share it with you.

Here’s how to make the dough. Make sure you have these ingredients:
-1 cup warm milk (heated to 110-degrees)
-4.5 cups flour
-2 eggs room temperature
-1/3 cup melted butter
-1 teaspoon salt
-1/2 cup white sugar
-2.5 teaspoons yeast

Dissolve the yeast in the warm milk in a large bowl. Mix in the sugar, butter, salt, and eggs. Add flour and mix well. Knead the dough into a large bowl, using your hands dusted lightly with flour. Put in a bowl, cover, and let rise in a warm place for about an hour, or until it is doubled in size.

We discovered our kitchen was too chilly. We had tried to cover the yeast as directed and set a timer for an hour. It hadn’t risen at all. So my husband googled a solution and read that we should get the oven warm, not hot, so around 100-degrees. He did that for a minute or so, turned the oven back off, and closed the bowl inside. After about an hour inside the oven (remember, not HOT, just warm) the dough rose just as it needed to!

What’s next…
You’ll need these ingredients for the delicious, mouth watering, filling:
-1 cup of packed brown sugar
-2.5 Tablespoons ground cinnamon
-1/3 cup melted butter

After the dough has doubled in size, turn it out on a lightly floured surface, cover, and let rest for 10 more minutes. In a small bowl, combine the brown sugar and cinnamon. Roll dough into a 16x21 rectangle. Brush the dough with melted butter, sprinkle with sugar/cinnamon mixture. Roll up the dough starting on the long side and cut into 12 rolls. Place them into a lightly greased 9x13 inch baking pan. Cover and let rise until nearly doubled (about 30 minutes). Preheat the oven to 350-degrees.

Bake rolls until they are golden brown (about 20 minutes). While the rolls are baking, beat together the frosting mixture:
-1 (3oz) package softened cream cheese
-1/4 cup softened butter
-1.5 cups powdered sugar
-1/2 teaspoon vanilla extract
-1/8 teaspoon salt

Here are what the rolls looked like after they rose, and before they were baked:

Here’s where I get to be completely honest with you, AND shock you. I did not make these.

My husband did.

I know, I know, I know. That is so shocking because I am SO crafty in the kitchen and I do so well there. But I just wanted to give credit where credit is due. I was all ready to help earlier in the day, but when the dough took longer than expected, we weren’t sure how this would all turn out aaaand I needed to head to the barn. So this is all Ace. And when I came home from the barn, we had these bad boys for dinner.

The kids were especially excited about this dinner option. Seriously, these cinnamon rolls were so soft, the frosting was perfection, and the sugar and cinnamon was all bubbly and caramelized. If you are someone who can wake up and make these beauties bright and early, go for it! But I am so glad we had these for dinner and I think they would be perfect for a brunch or girls night too. This is based entirely on the fact that I despise mornings, and my husband who IS the cook of the house, said that this was a little more work than he would normally want to do on the average morning for breakfast ;)

ashley glass blog

It is thanks to the Bakerlady that I found this recipe on Pinterest. And you can find her blog and post here! PS: who doesn’t want buns of cinnamon?! Here’s to all the cinnamon rolls and to the wonderful people you enjoy them with!

Our Top 5 (Louisville and Surrounding) Trails to Hike

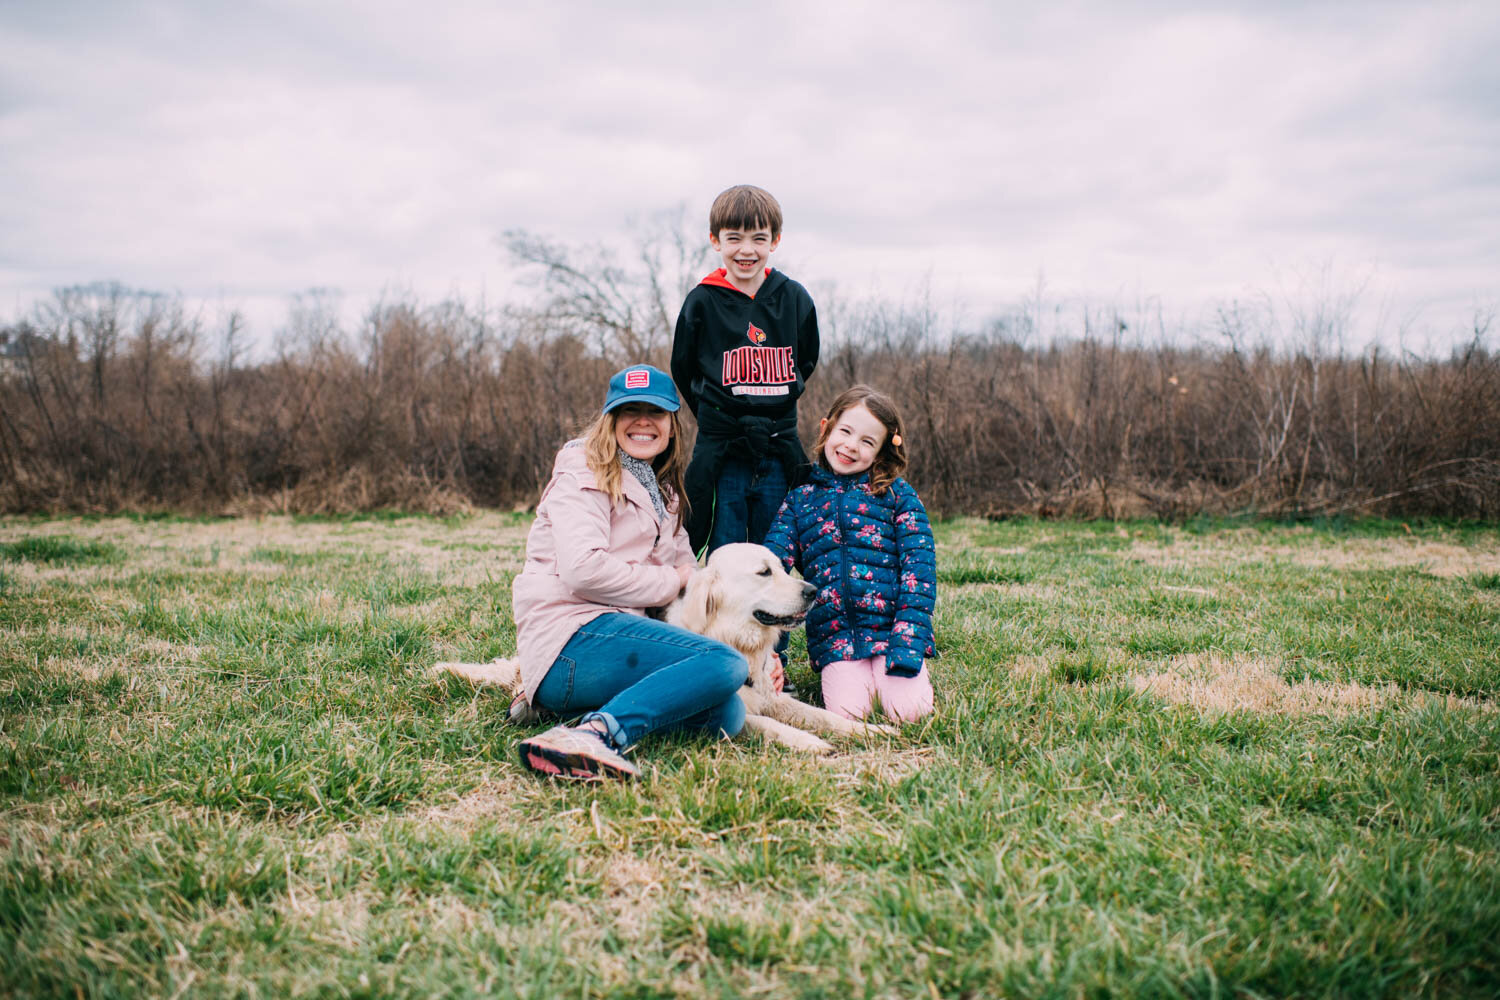
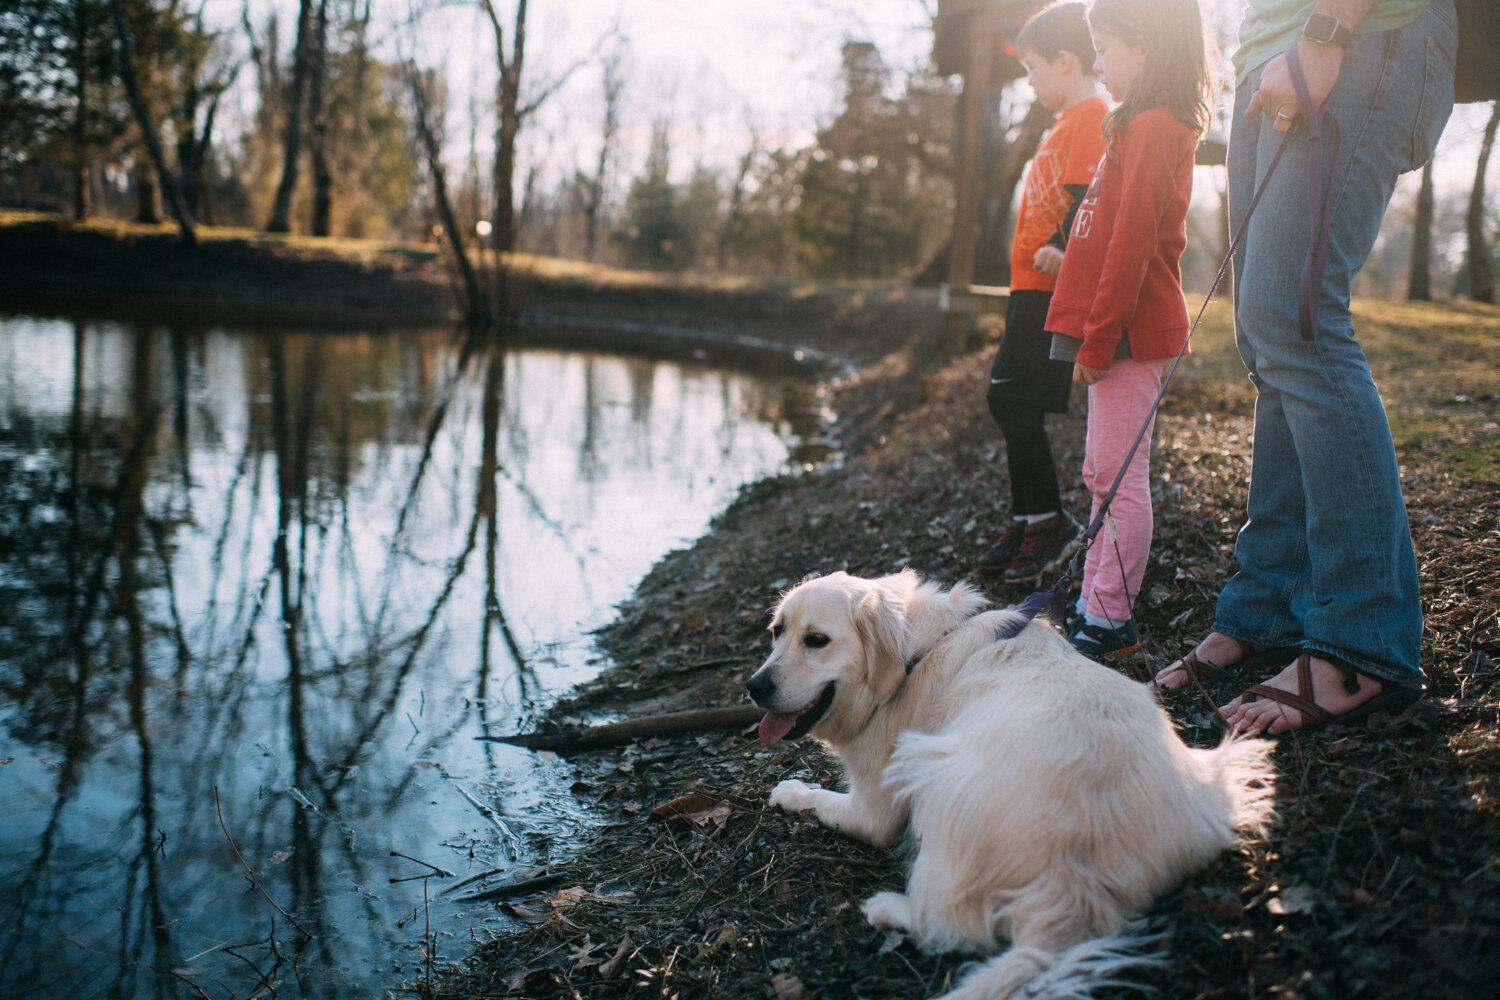
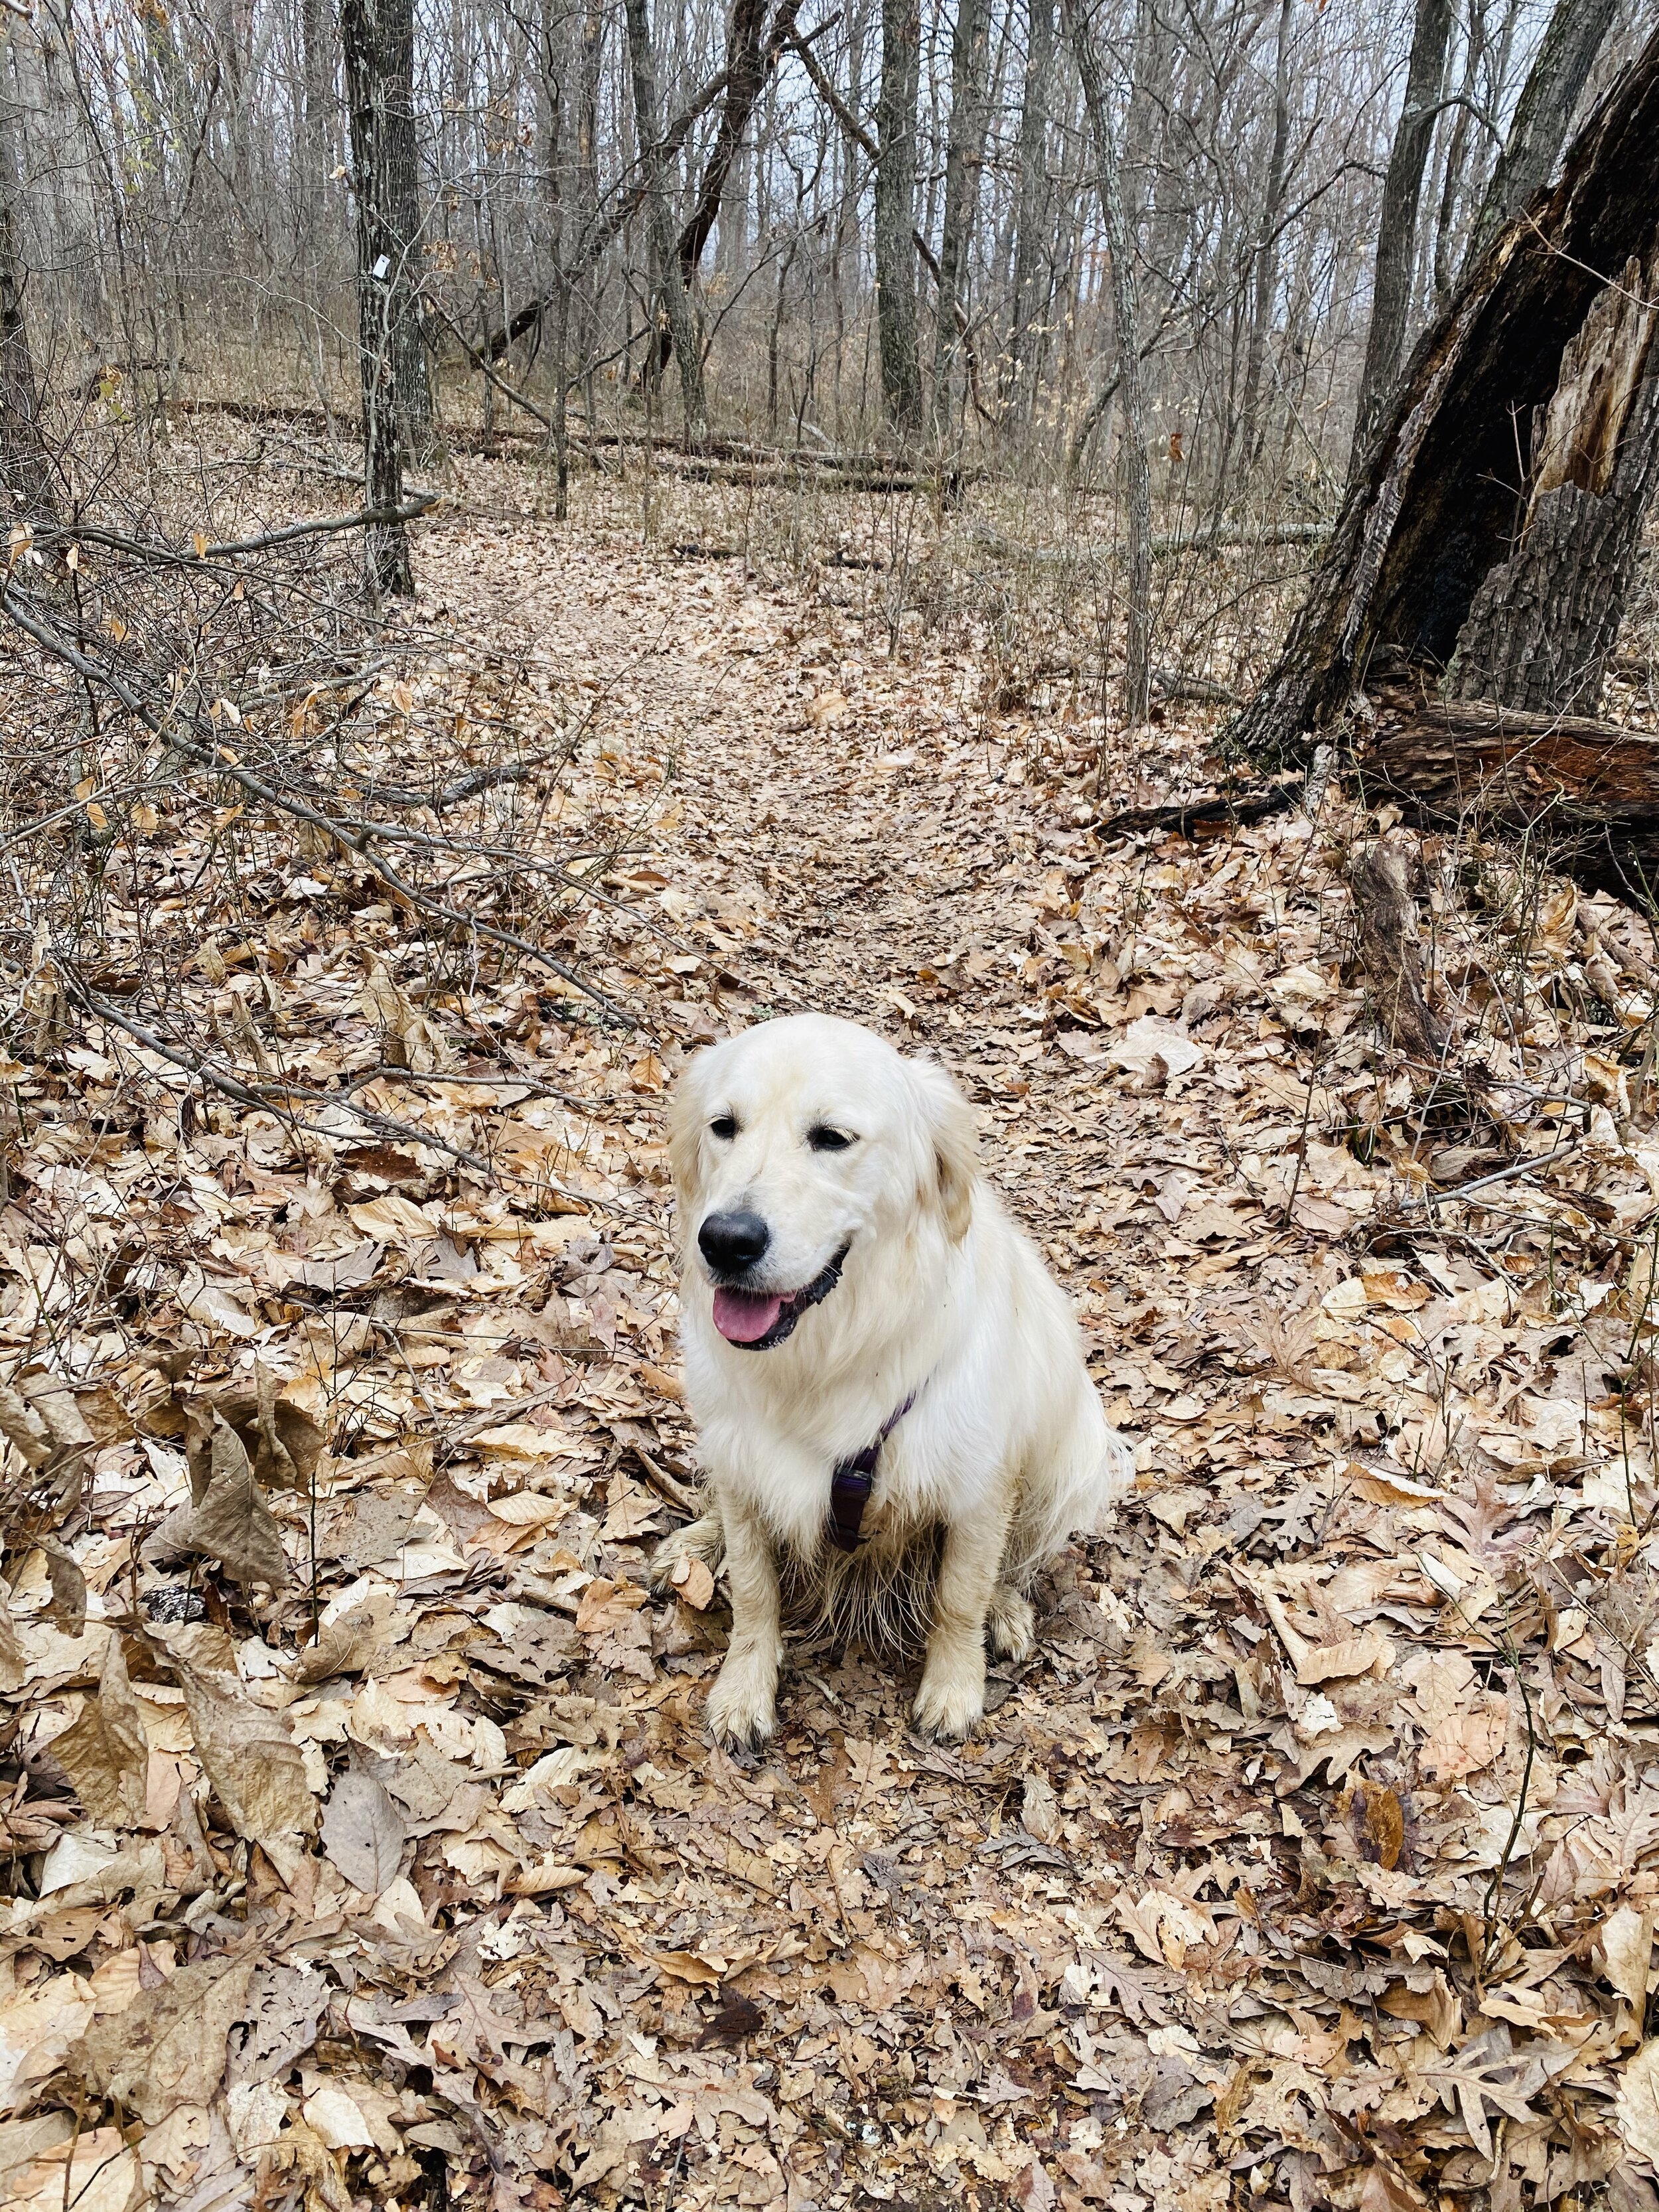
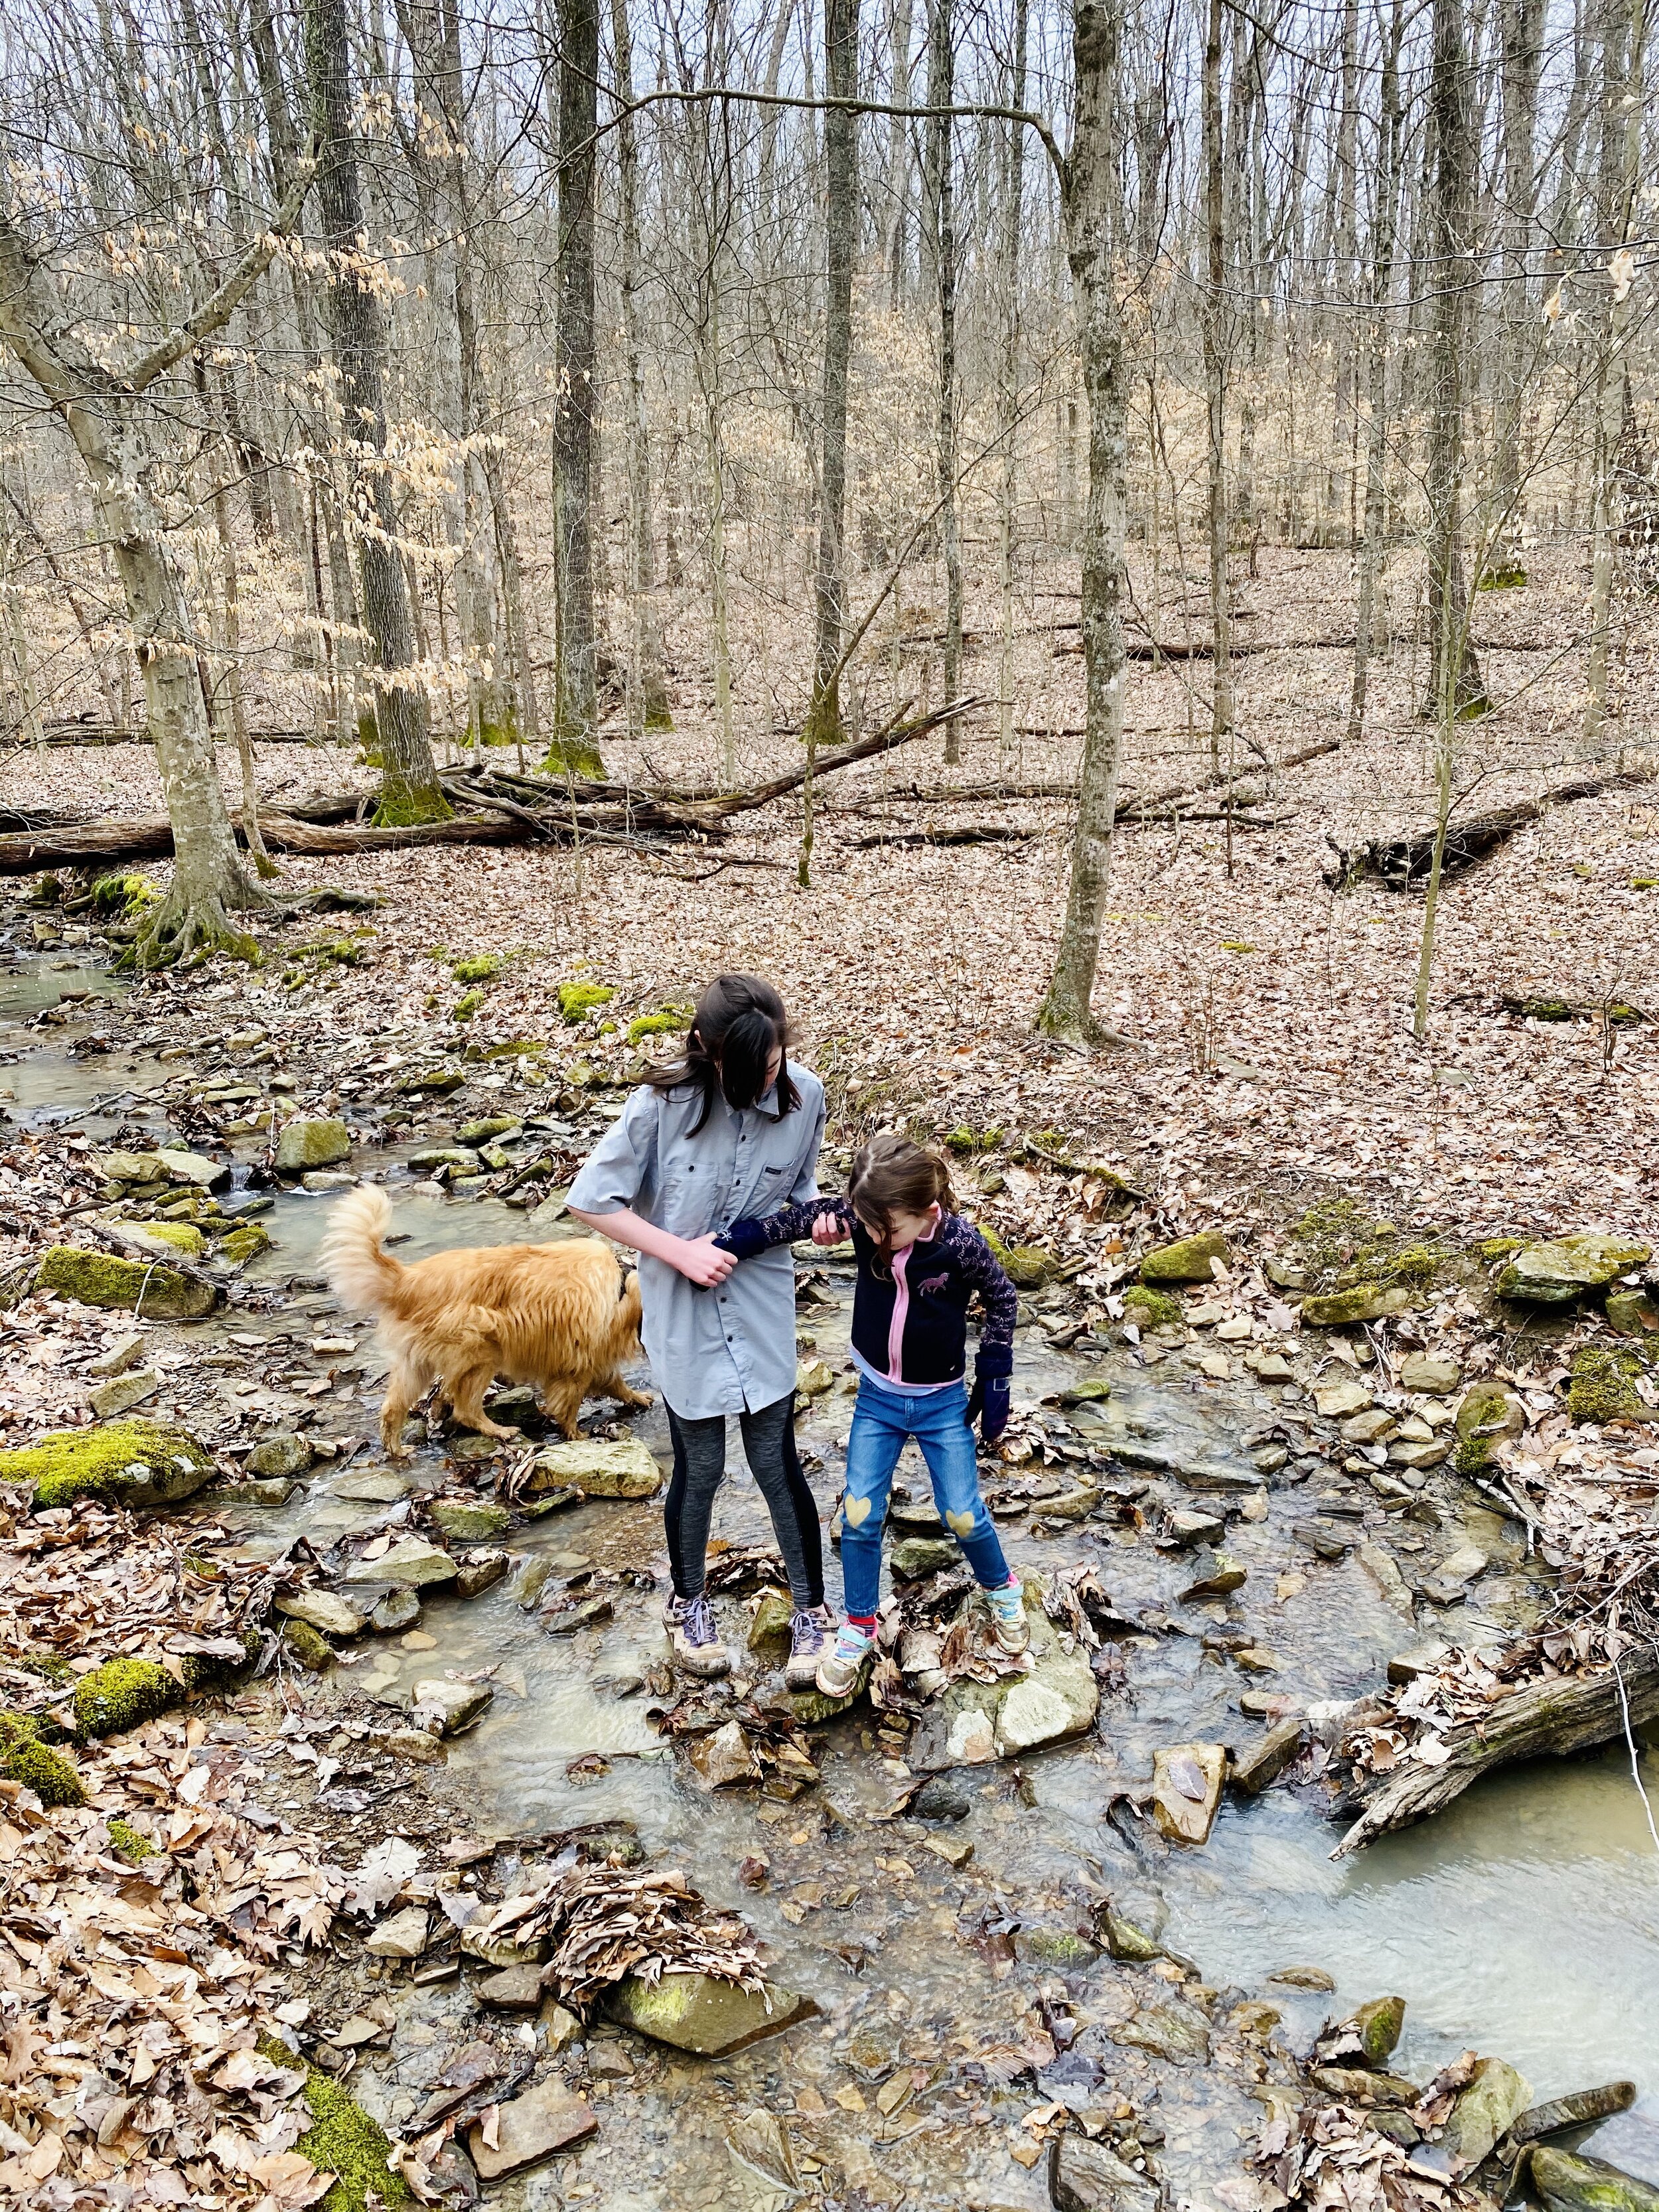
Stores are shut down, restaurants, malls, heck even playgrounds and parks. The biggest way we are staying busy and HAPPY is honestly through a ton of outdoor time, and specifically hiking. Here are 5 of our favorite places that we frequently revisit and wander around with our sweet pup Emma:

1.) Garvin Brown Nature Preserve: a 46-acre nature preserve that is owned and preserved by River Fields.

Directions to Garvin Brown Preserve:
To access Garvin Brown Preserve, take River Road to Bass Road. Continue to Bass Road to Park Road. Park in the paved parking lot near Hays Kennedy Park's soccer field. Cross Hays Kennedy land for about 800 feet until you come to the small gate at the entrance of the preserve.

2.) Creasey Mahan Nature Preserve: Creasey Mahan Nature Preserve is a 170-acre non-profit nature preserve dedicated by Virginia Creasey Mahan and Howard Mahan to enrich the community through conservation, education, preservation, and community enjoyment.

Directions to Creasey Mahan: 12501 Harmony Landing Rd Goshen, Kentucky

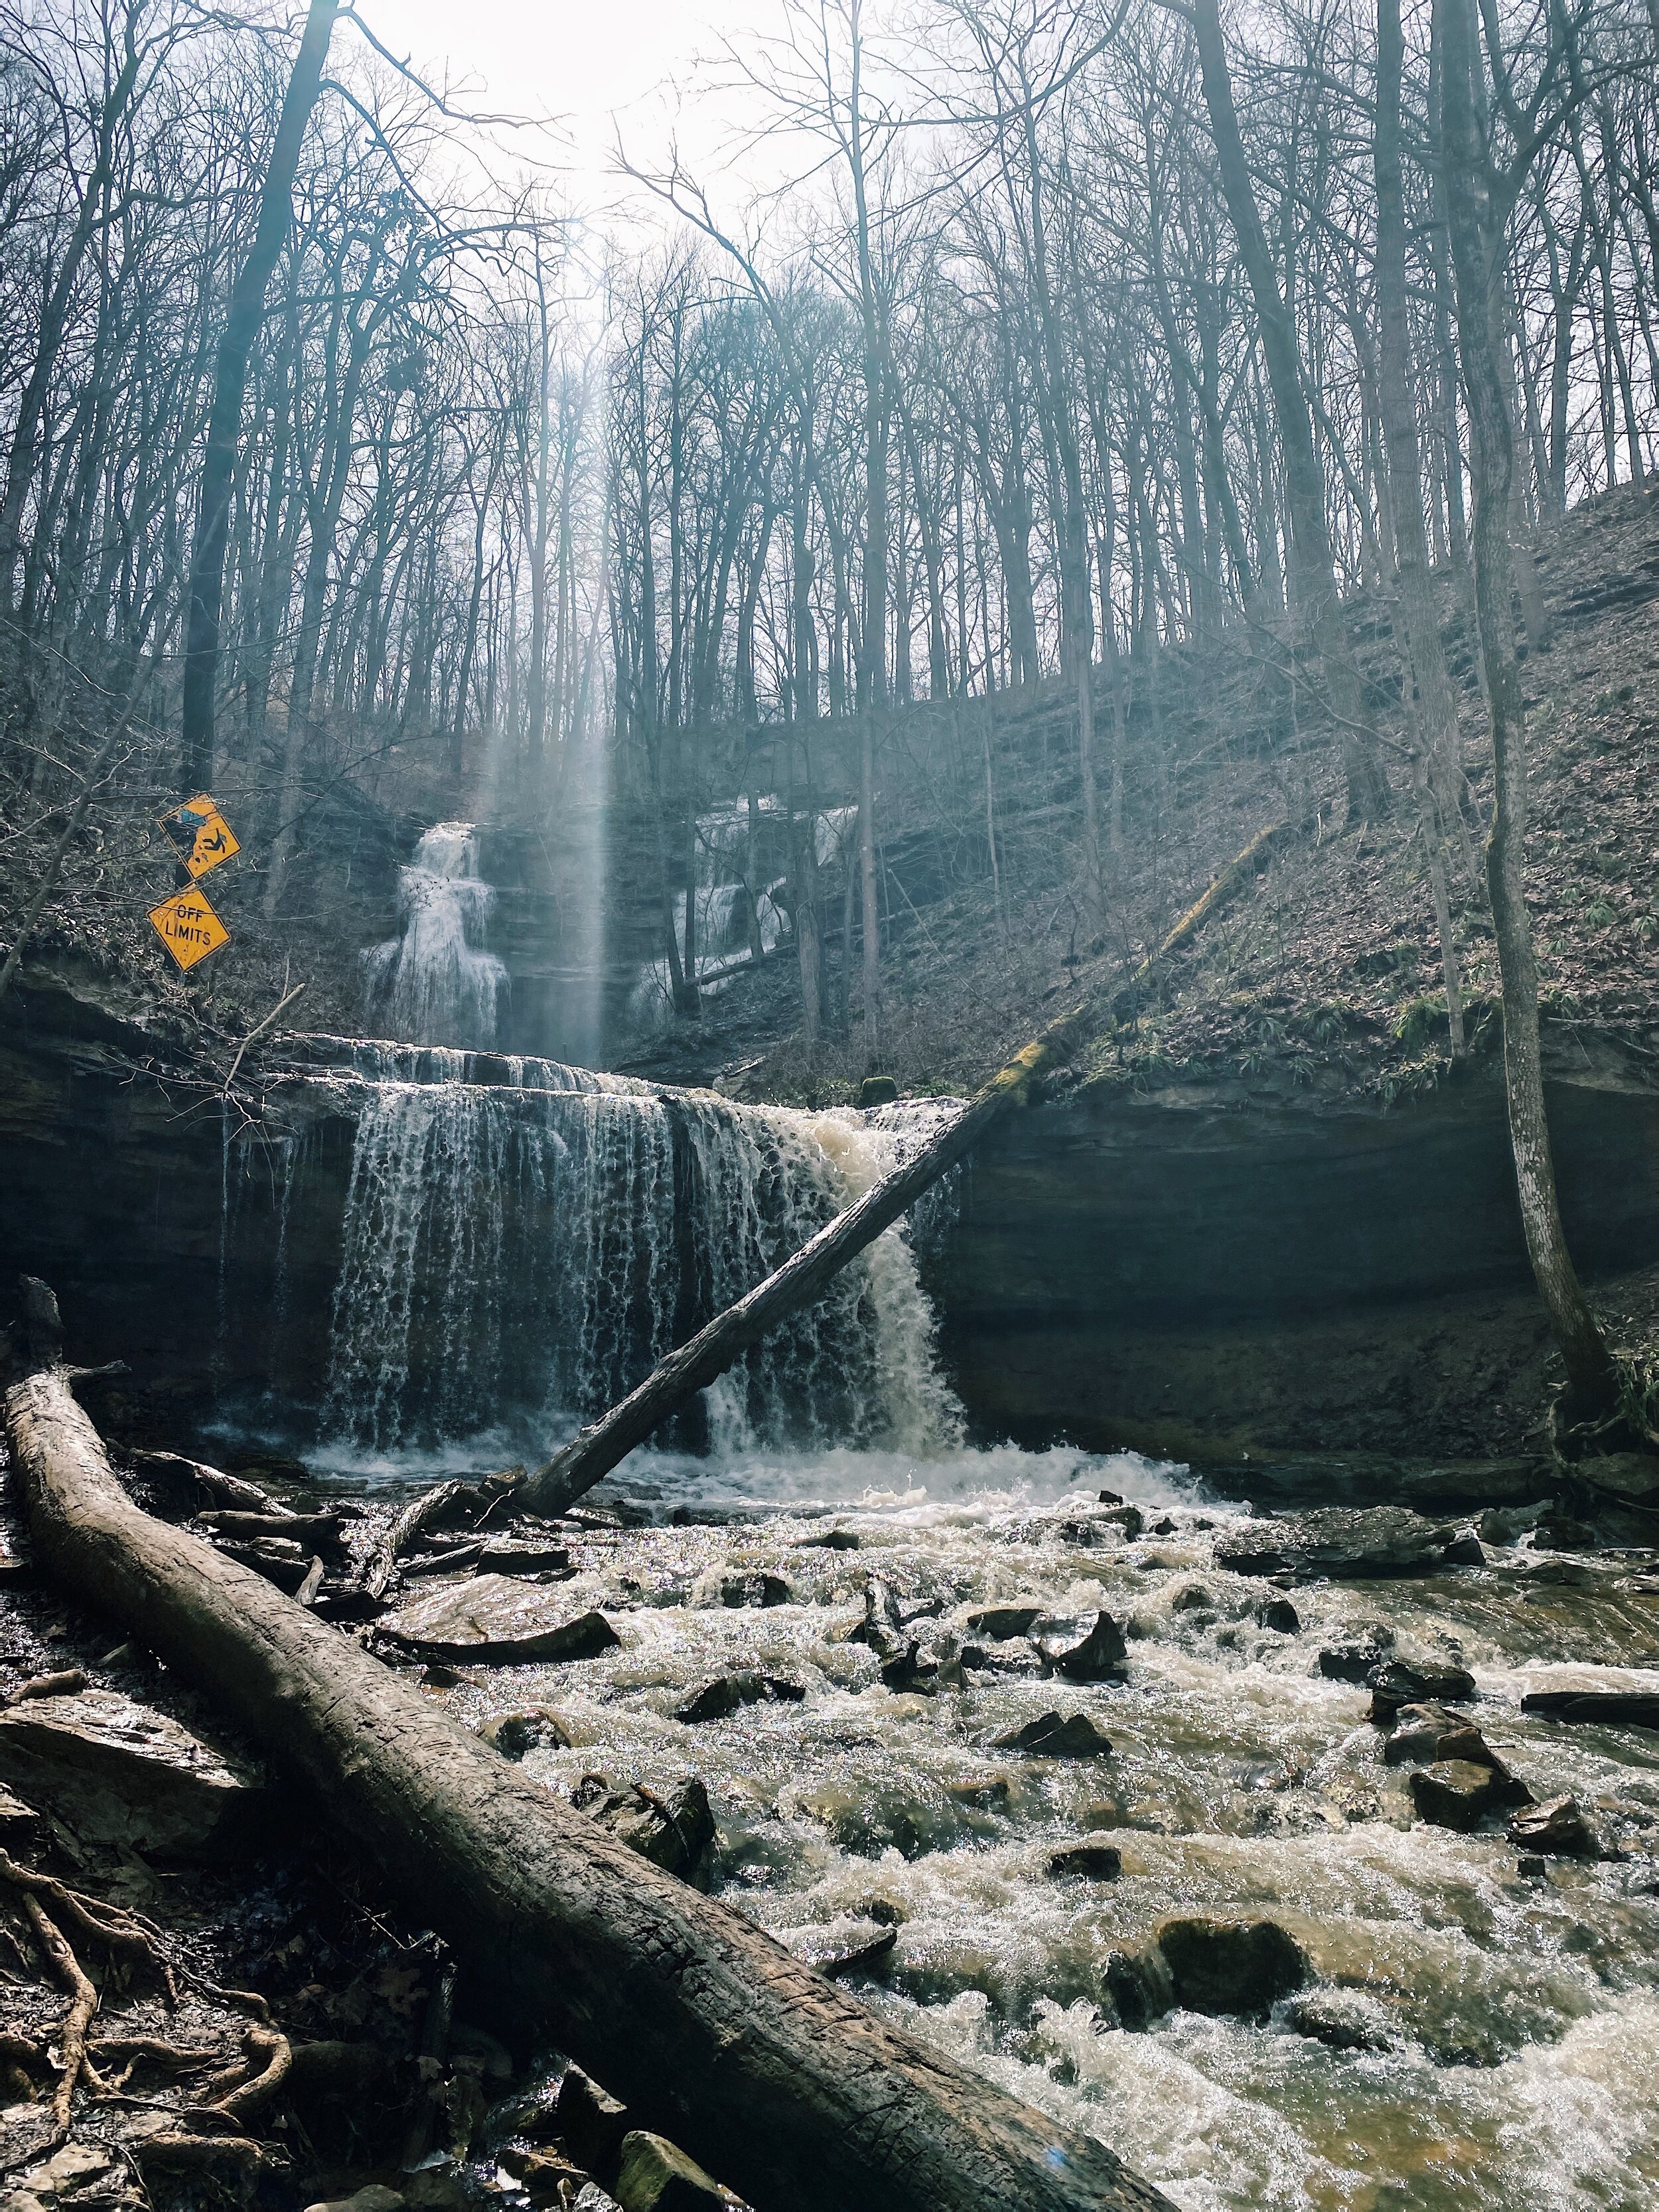
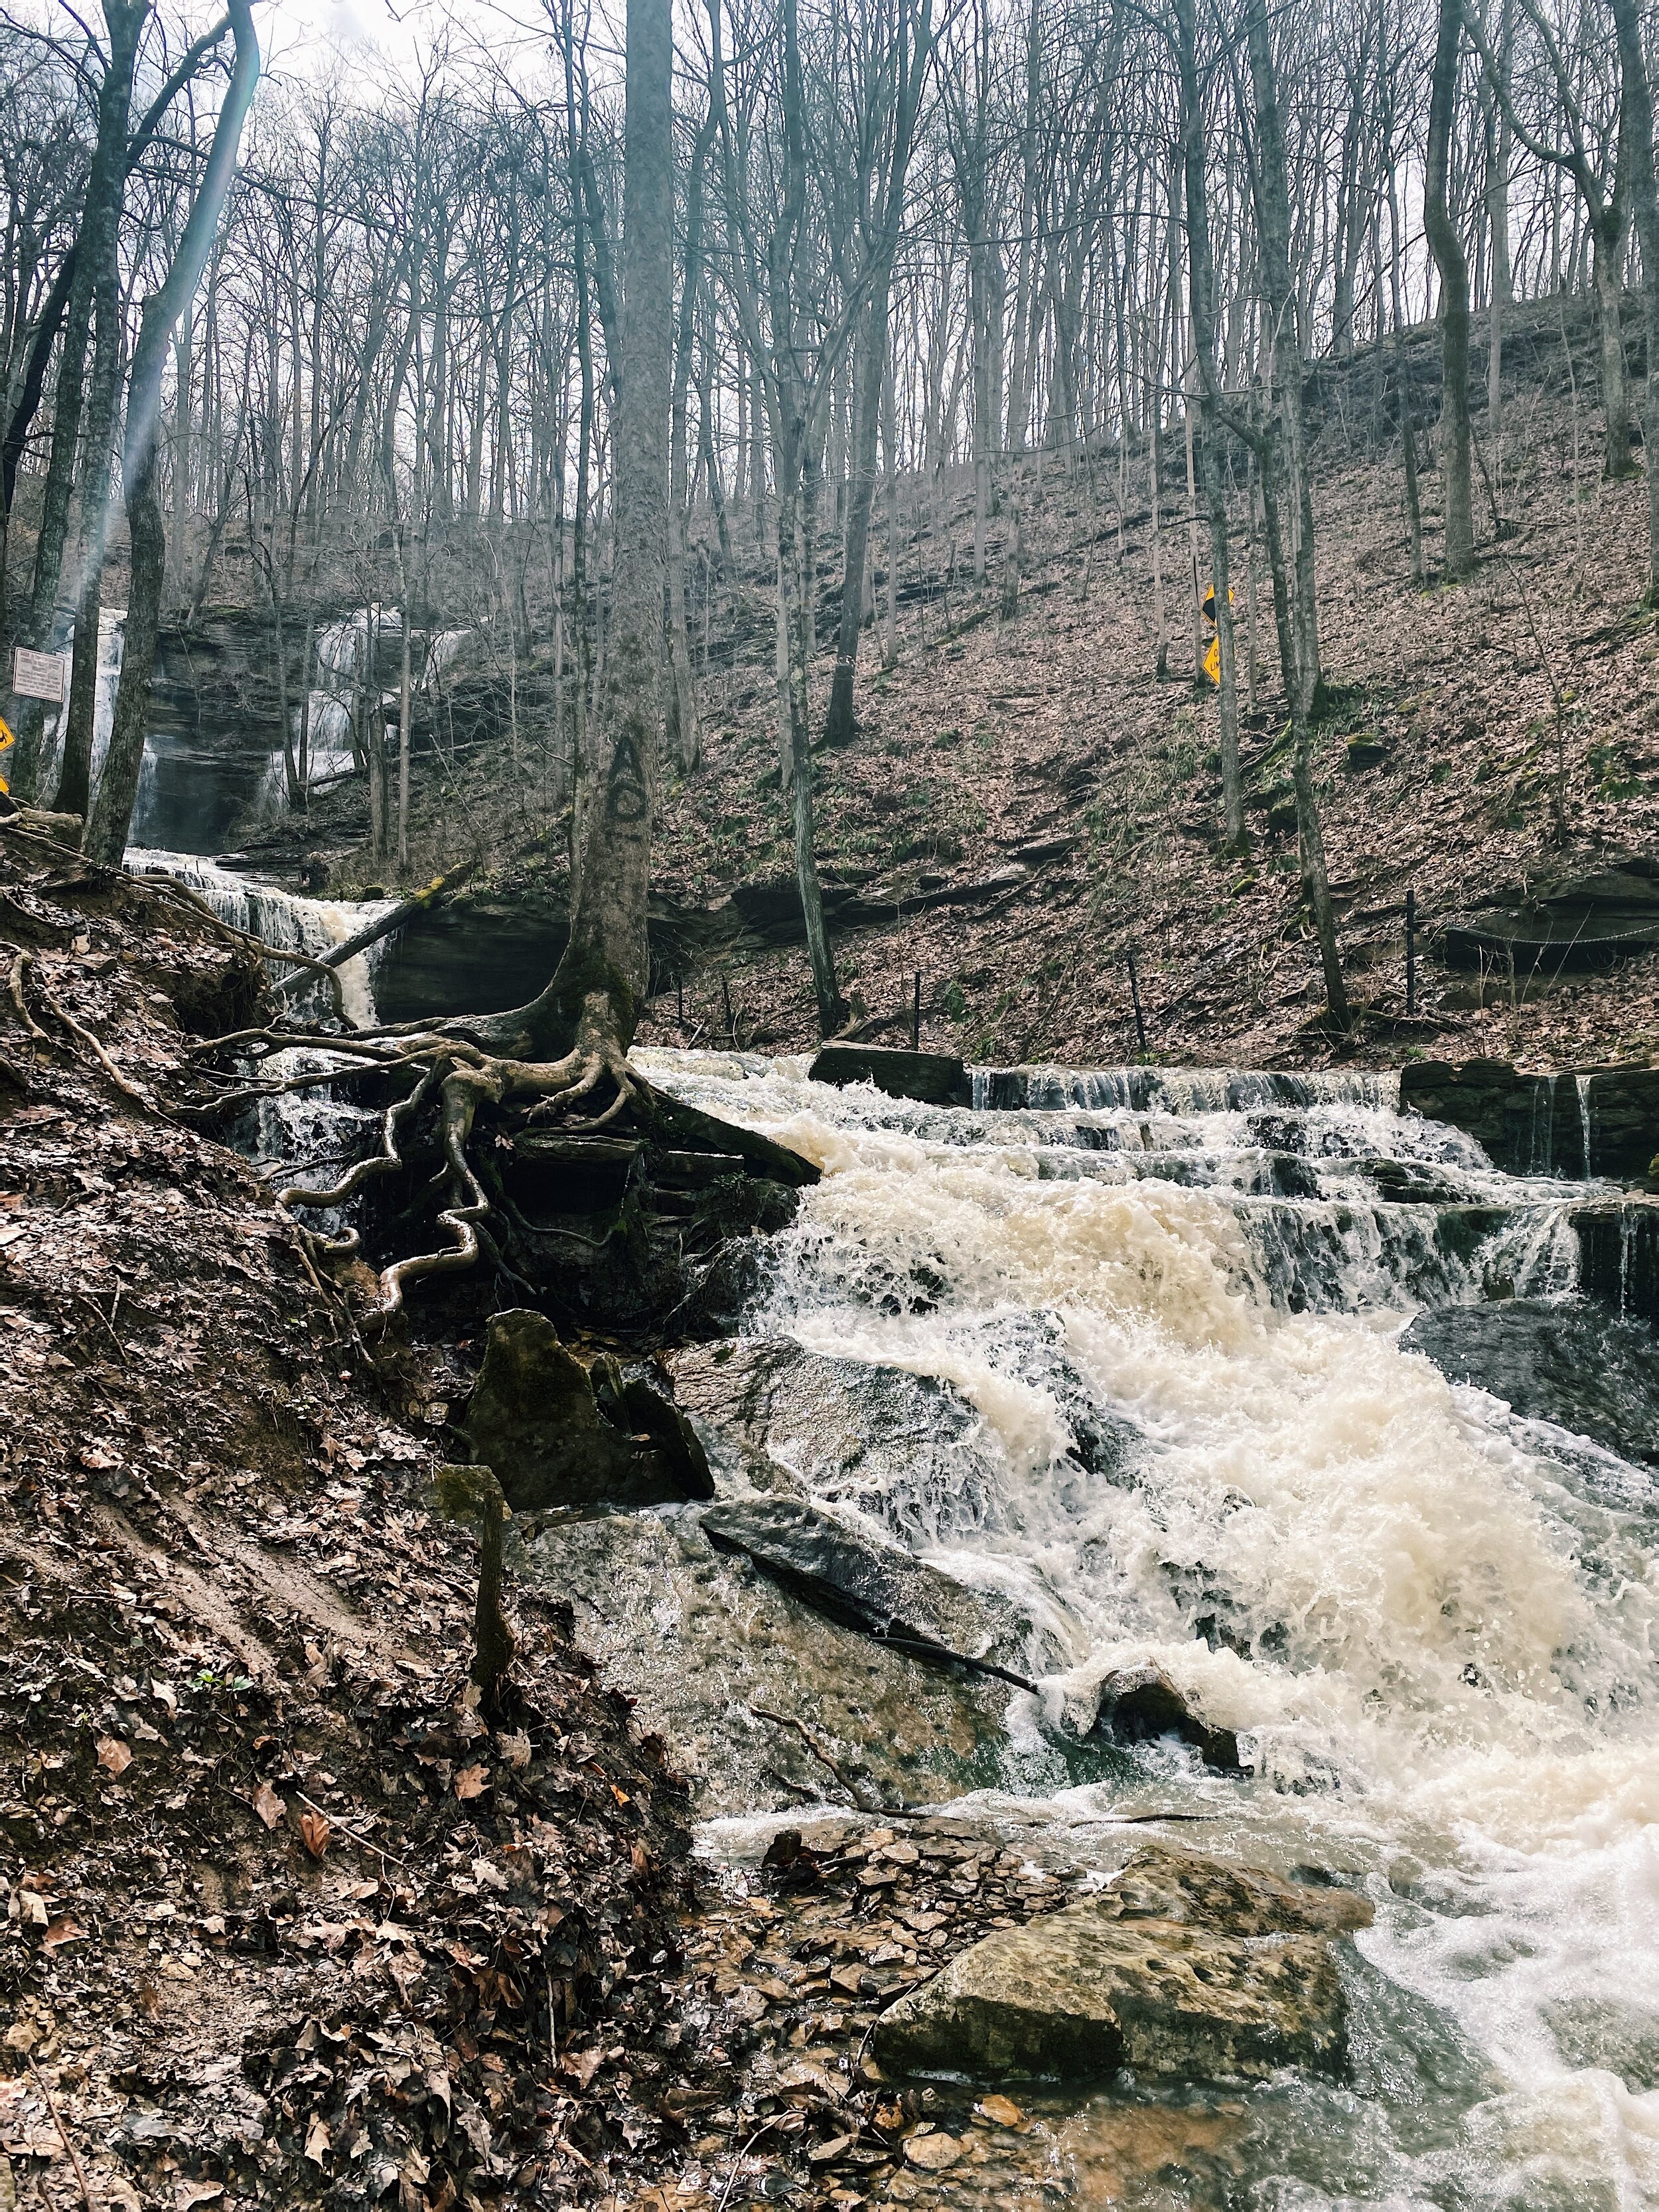
3.) Tioga Falls: an interesting and scenic waterfall located near Louisville Kentucky. The hike to the falls is scenic and passes by some really awesome railroad trestles. The falls is best seen in the spring or after a good rain…when we went recently, the waterfall was absolutely beautiful! PS: this is where Asa asked me to his girlfriend a hundred or so years ago, so it’s pretty special to me!

Directions to Tioga Falls:
West Point, Kentucky 40177 (Click here for their website)

4.) Wild Hyacinth Trail in the Parklands: Turkey Run Park inside the Parklands, has some of the most extensive collection of hiking trails. Just thirty minutes from downtown Louisville, you will not be disappointed when you land here for some outdoor time! Specifically the Wild Hyacinth Trail is right across the street from the Stout House, and as you walk, you surely will hear spring peepers, woodpeckers, and the sound of flowing water in the Turkey Run Creek. It’s about 1.5 miles and rated as moderate, and our kids and Emma traveled it without any issues at all. I can’t seem to find photos from this hike, so you’ll just have to trust me that it’s beautiful and worth it!

Directions to the Parklands: 1411 Beckley Creek Parkway (5.40 mi) Louisville, Kentucky 40245

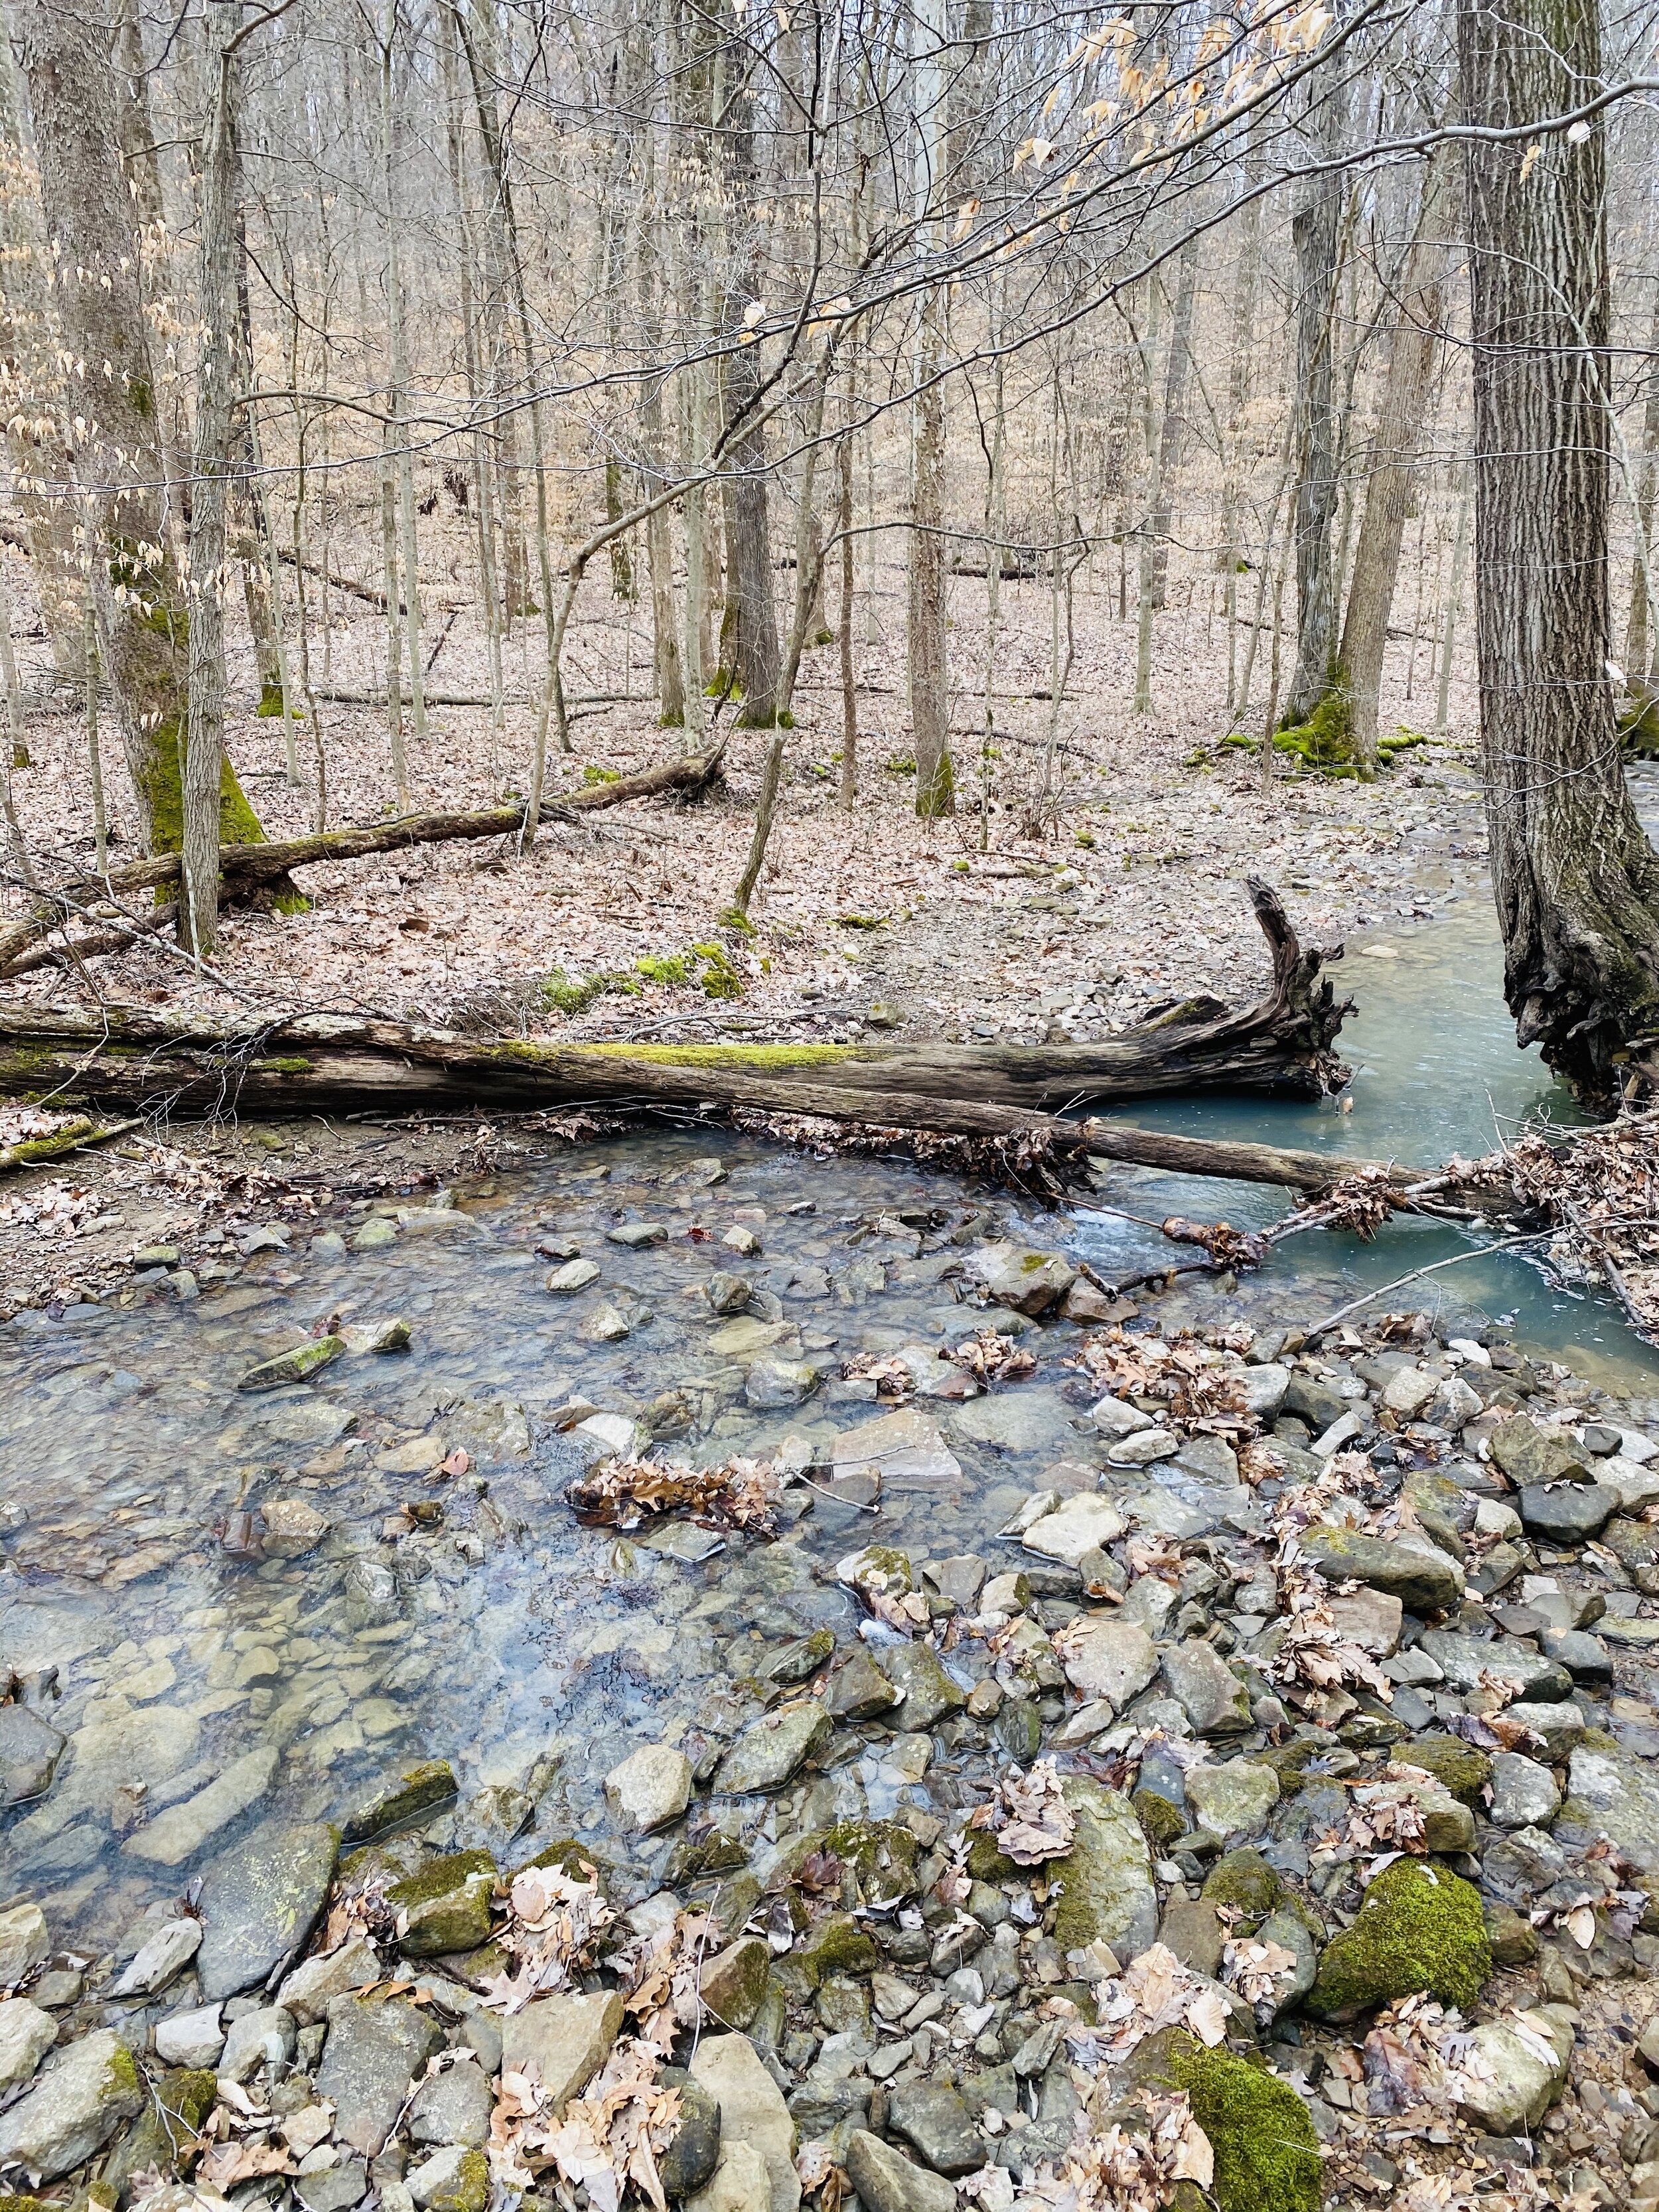
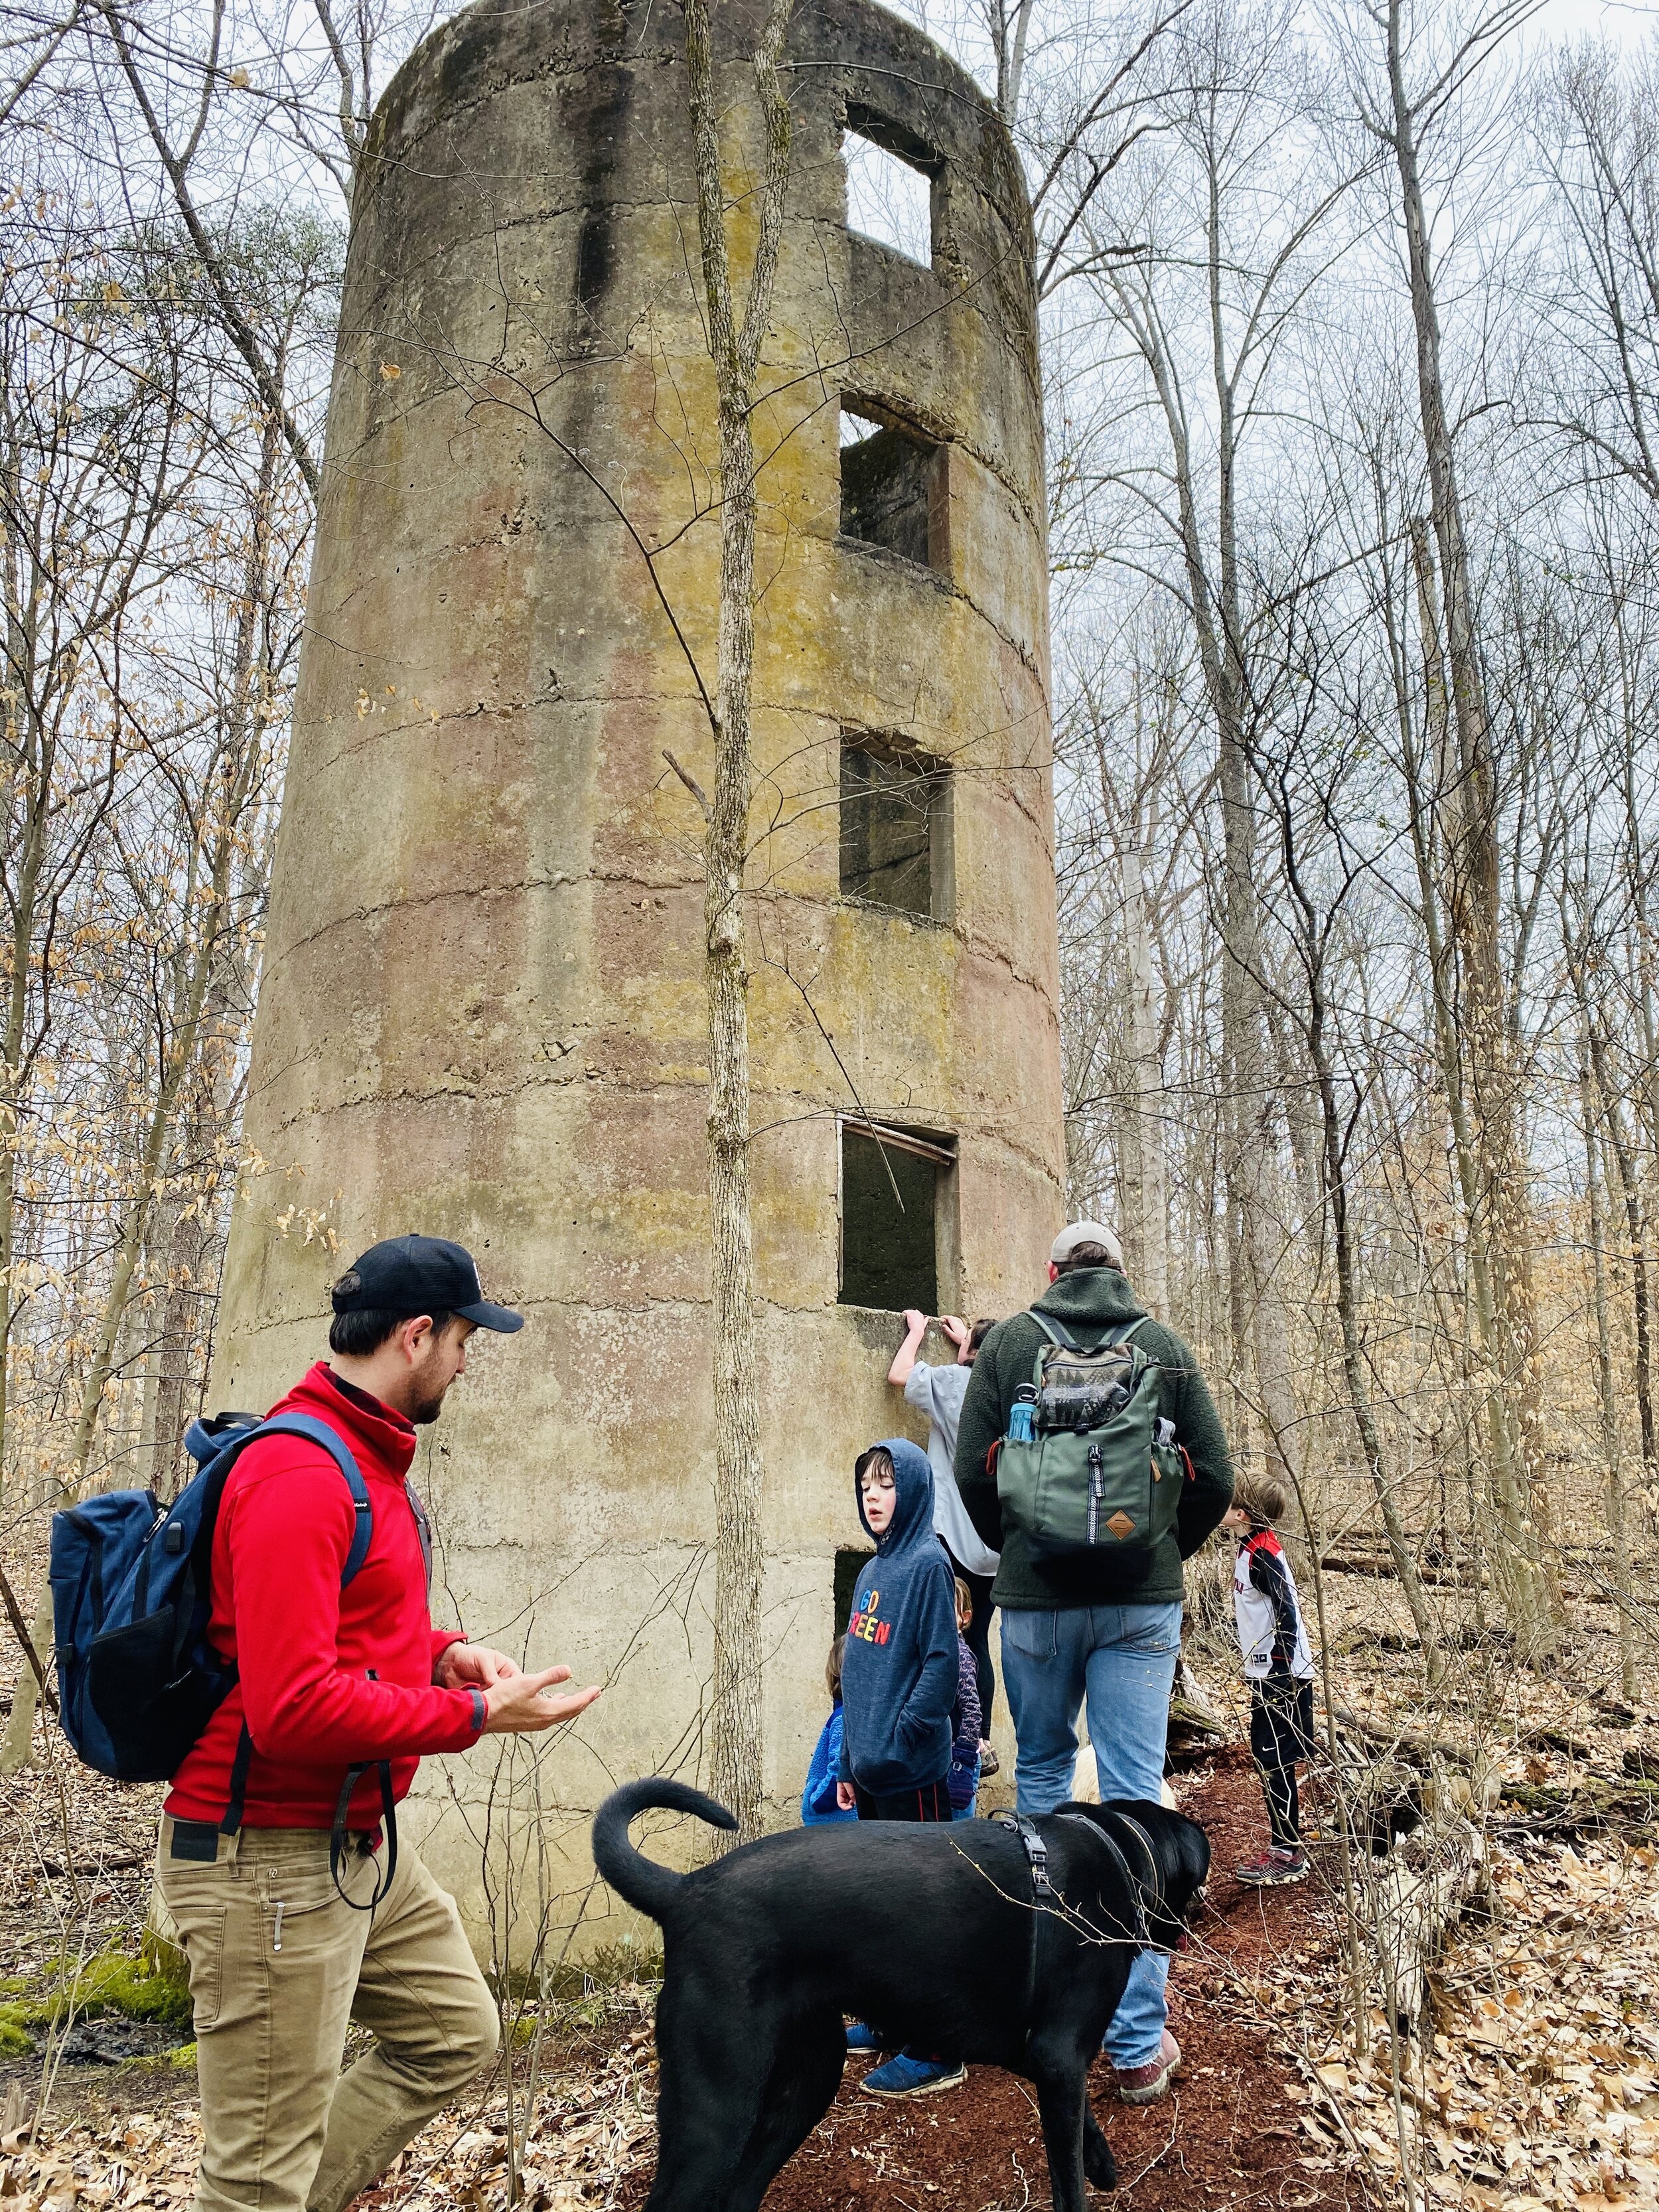
5.) Elm Lick Trail at Bernheim Forest: this was a 5-mile hike that our family recently did with cousins and all our dogs! It is rated as difficult and it definitely had some challenging parts for us, going up and down some steep slopes, and taking around 2.5 hours to complete. You will come across the Elm Lick Watershed and see so many diverse landscapes. There are streams, grasslands, oak-hickory and beech-maple trees, and even an old homesite.

Directions to Bernheim Forest: 2075 Clermont Rd, Clermont, KY 40110

Overall the weather here in Louisville has been quite nice. A little on the chilly side, but nothing too cold. Some of the days we have bundled up in our fleeces or hoodies, but we always feel nice and warm once we get moving. It is SO easy to get bored and restless staying indoors…we can’t really hang out with friends or family indoors or host meals for people that we love. Honestly hiking has been a godsend for our family, and I will continue to share with you all on Instagram where we go! Definitely follow along in my stories there, weekly we are going outside and on family walks. I hope wherever you are you are staying well and ACTIVE!

Sprouting Seeds and Starting Your Own Garden

ashley glass blog

What does a garden signify to you? Maybe you have zero desire to have or keep up with one. To plant, water, watch, wait, harvest, and go through the whole process. That’s okay, I still think this post will mean something to you..

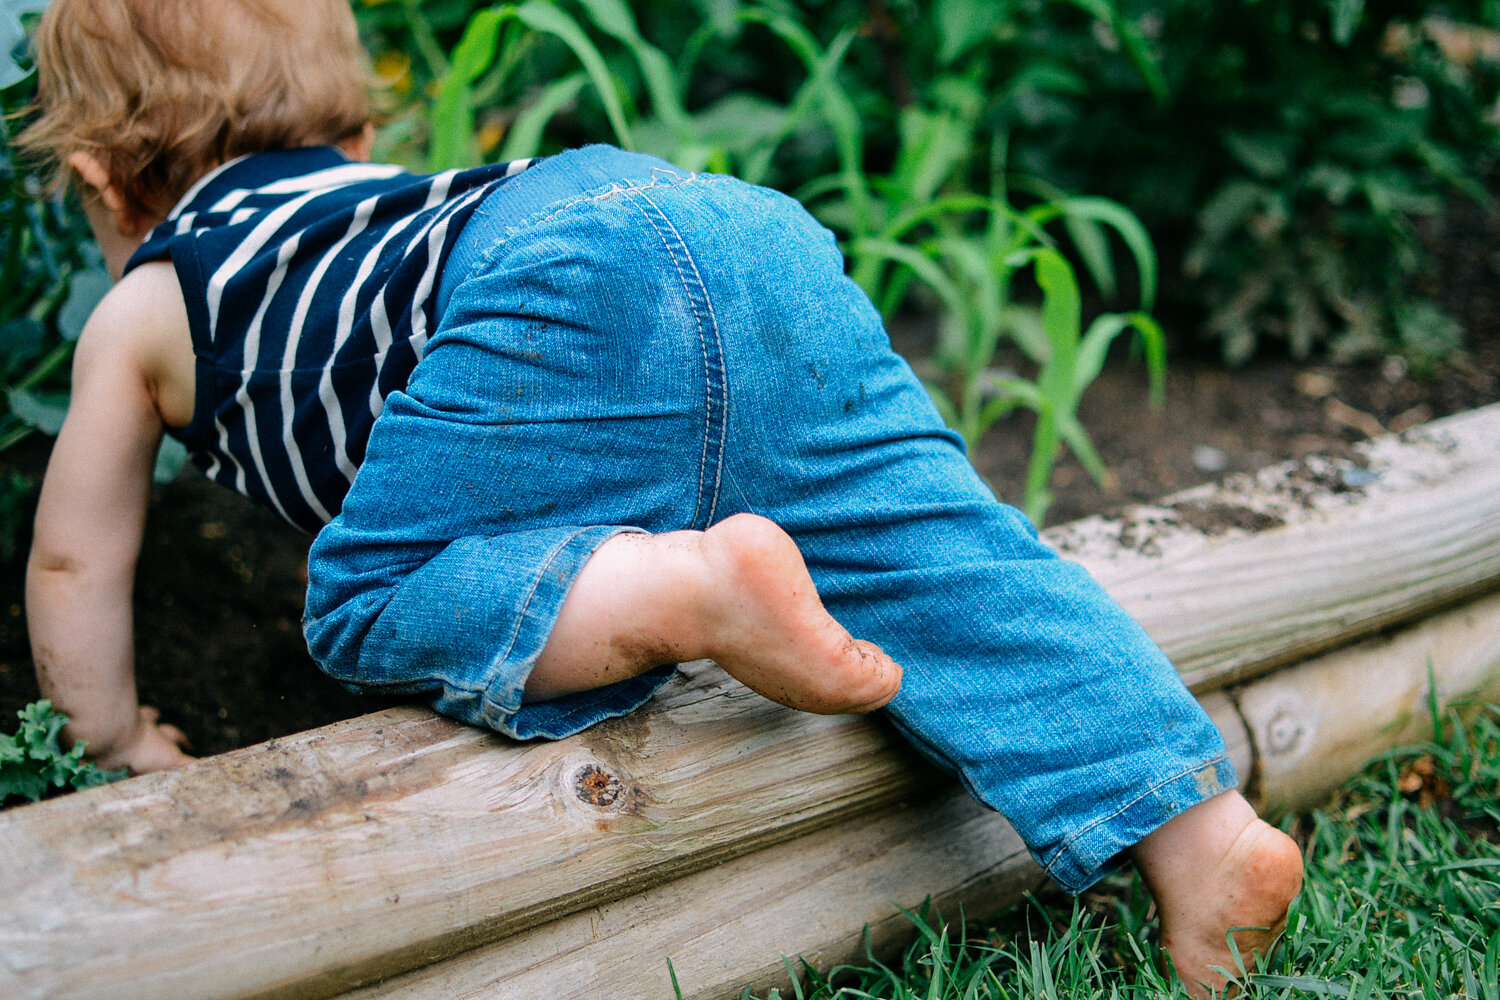
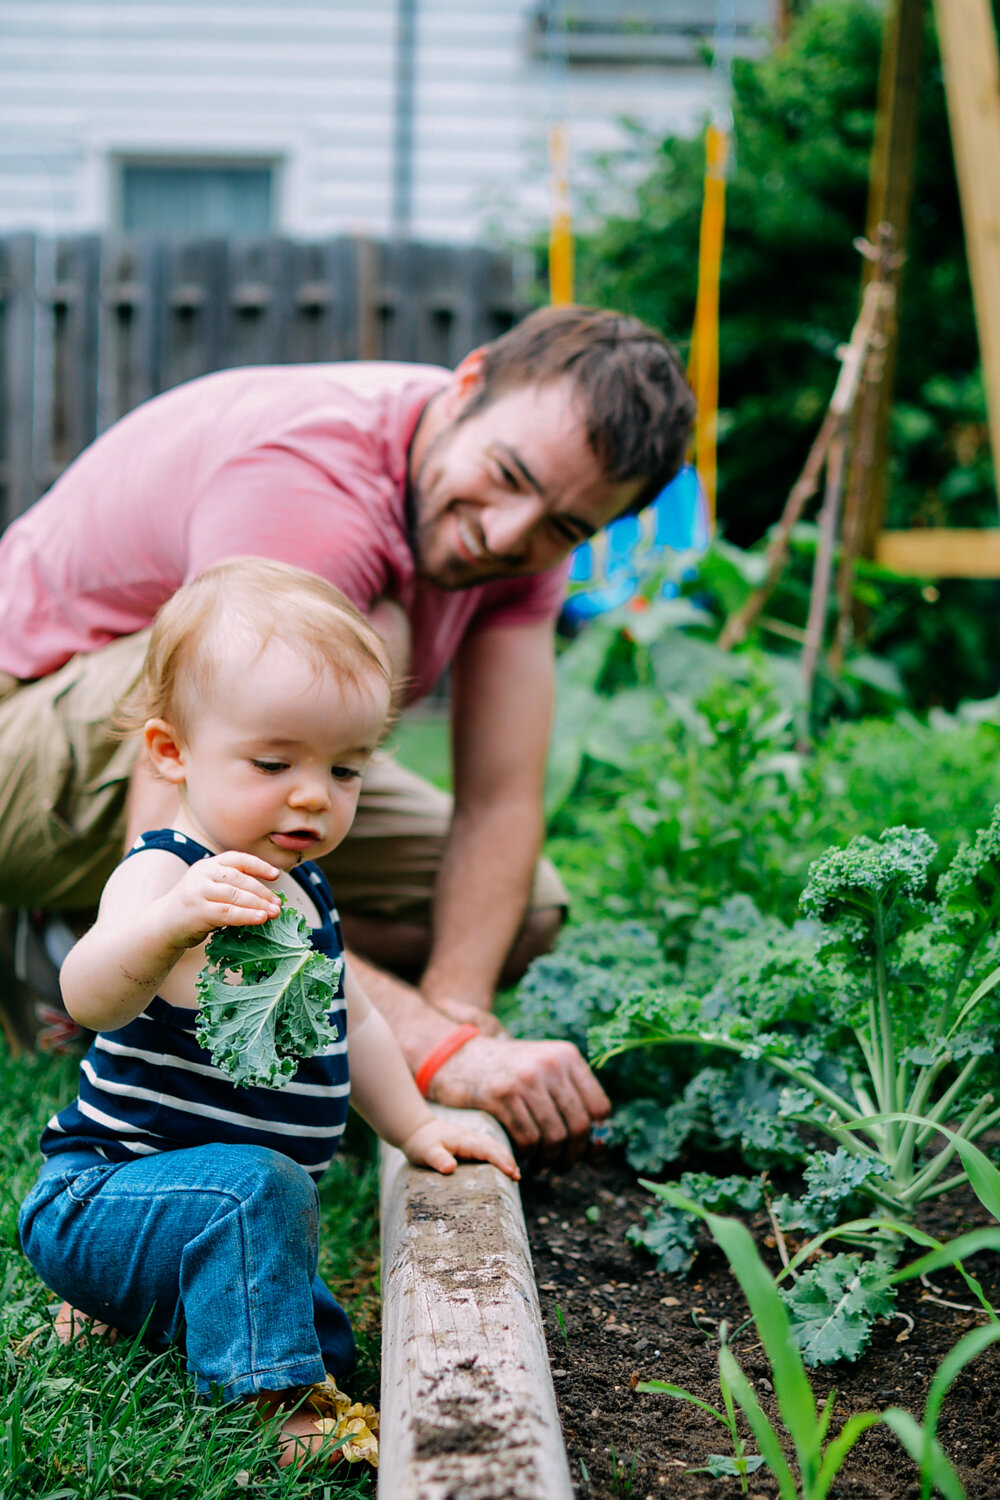
VERY early on in our marriage my husband Asa has always created a garden in our backyard. The first one was on 2nd street in Old Louisville. Gardening and growing is basically his thing. He has always gotten so excited to create a plan, a blueprint of how he dreamt it would be. I wish I had pictures of all of them (and maybe I do?) but what I did remember that I have, are photos from 2013.. when Pierson was twelve months old and we lived in our first HOME…and oh my heart, Guys. How sweet are THESE? Jackson Street, how I love and miss you and cherish all of these sweet memories!

Anyway, back to why you are here—gardens and how in the world to get started! This is what Asa had to say on it…

When it comes to planting seeds and starting gardens I like to employ the KISS method of thinking. It’s not very elegant, but Keep It Simply, Stupid. (Sorry, you aren’t stupid. I needed a working acronym.) Basically, don’t over think it. You need soil, light, water and a seed. We can get into the nuances of which soil, how much light, and how much water. The temperature of water and soil? Which seeds? Organic of non-organic? Which variety of each seed? And the list goes on. If this is your first garden, keep it simple. Learn as you go. There is a reason growing seeds is a kindergarten science project. Just grab dirt and a cup. Bury your seeds (not too deep). Add water and put them in a window. You’re likely to have success.

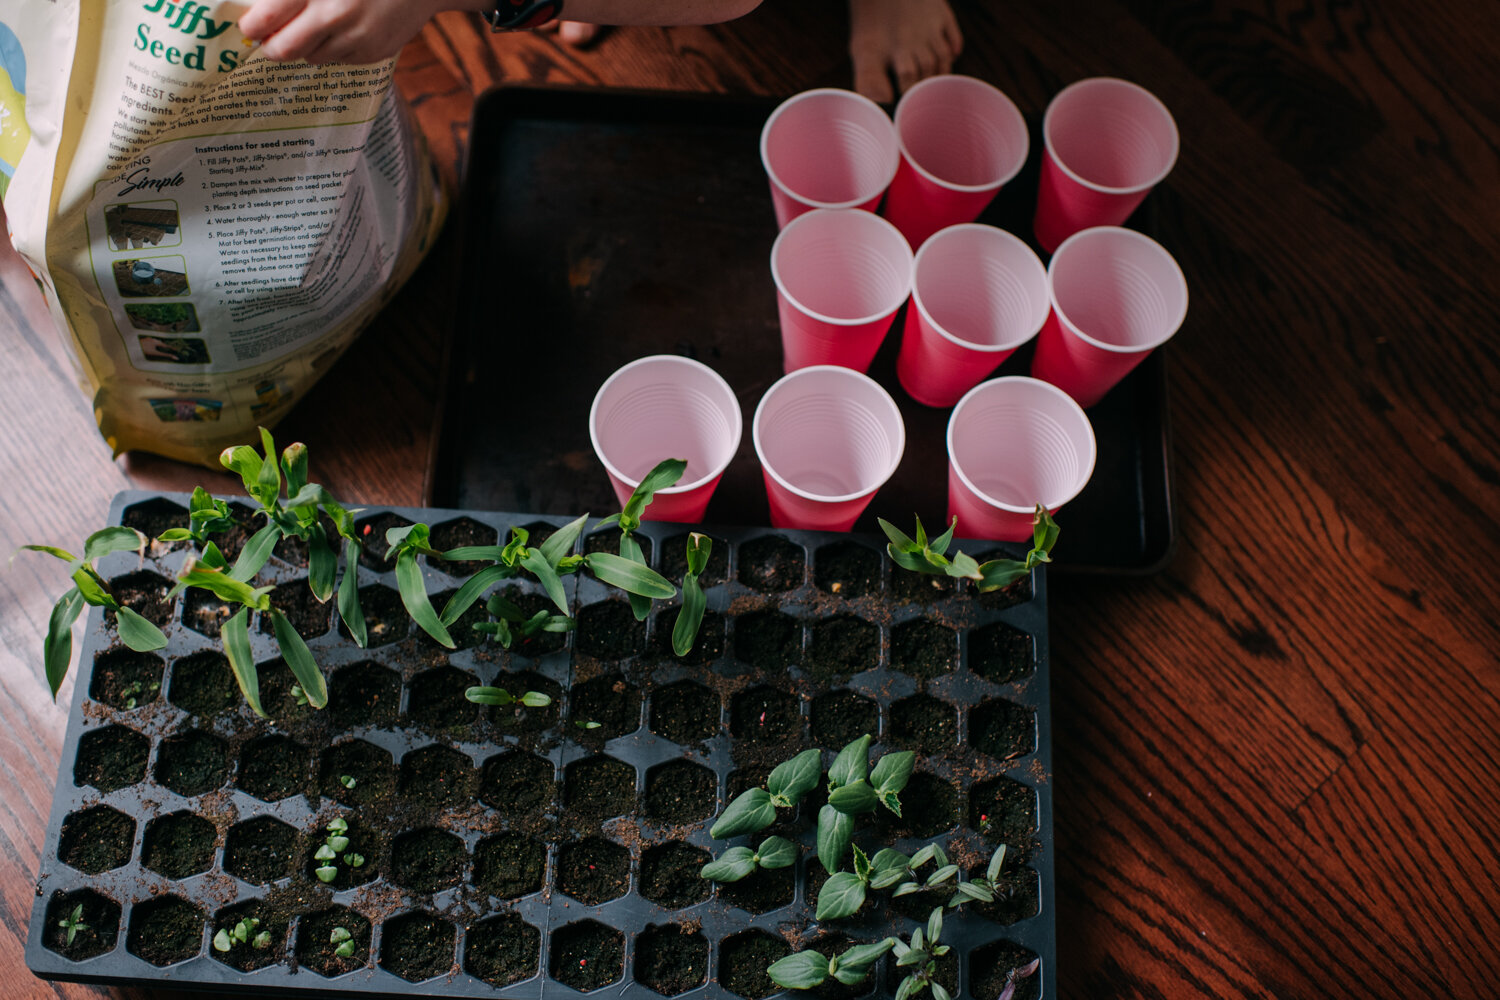
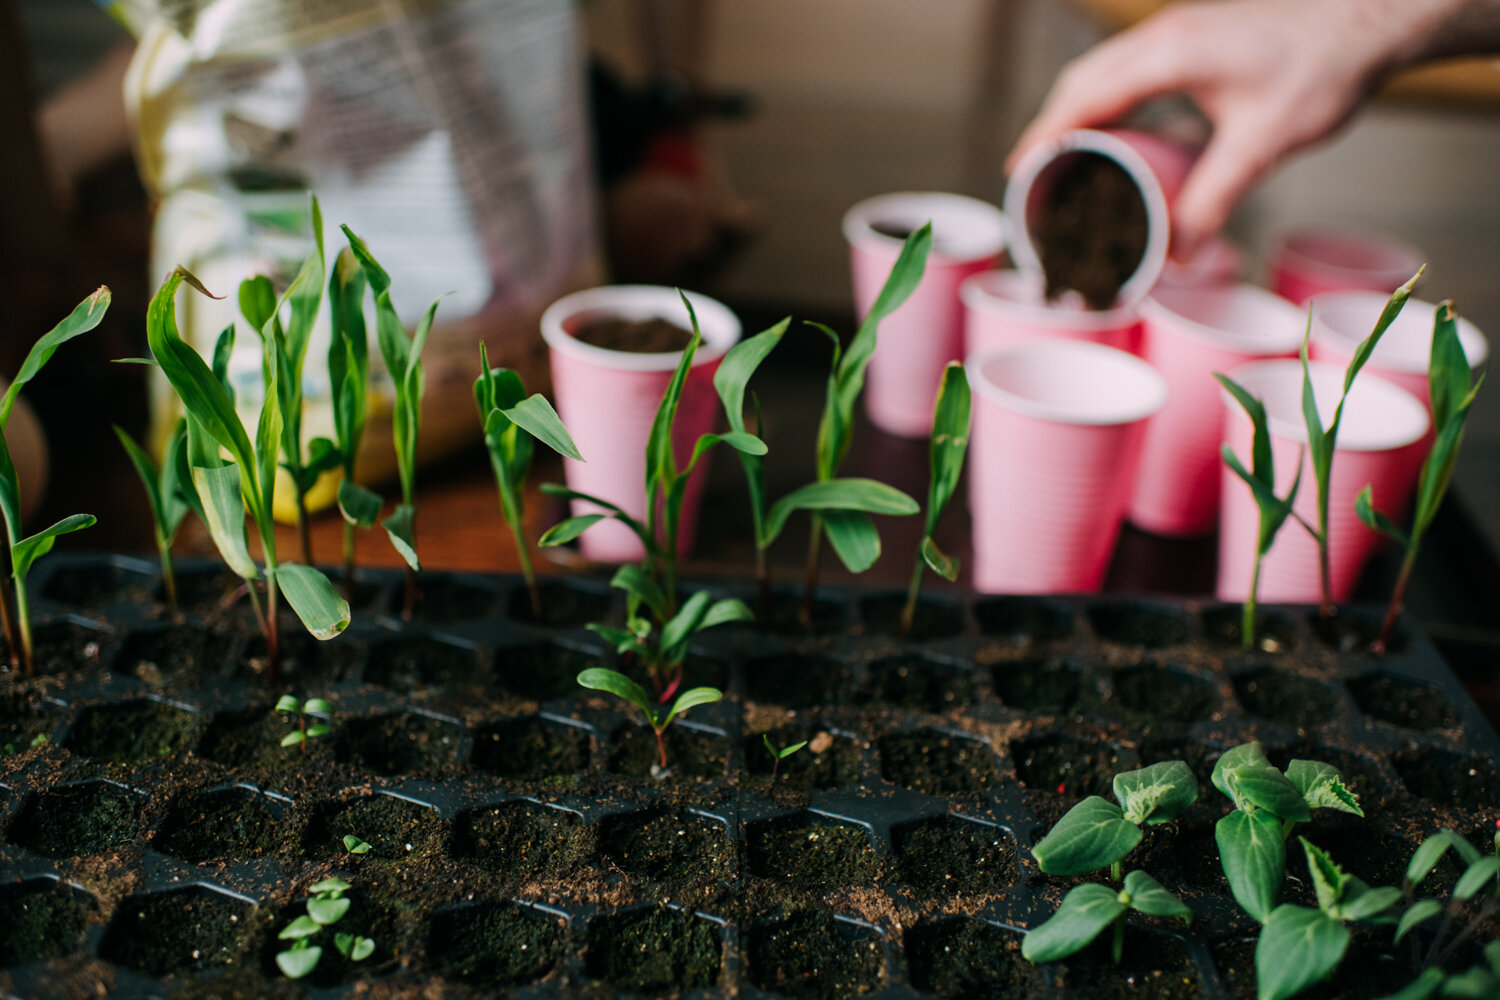
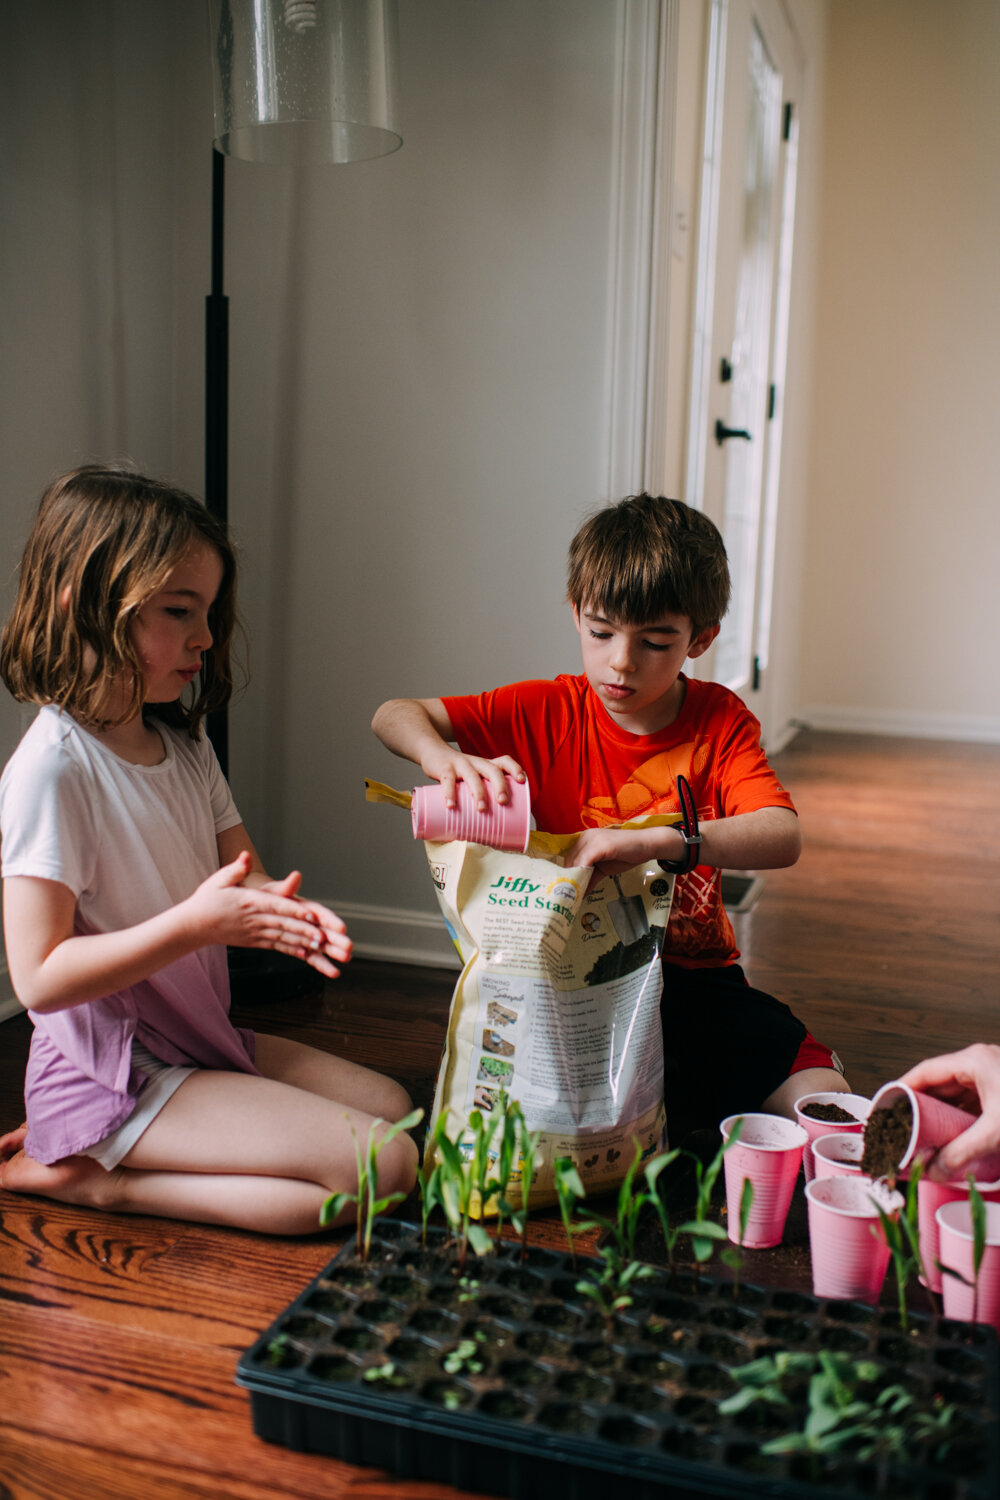
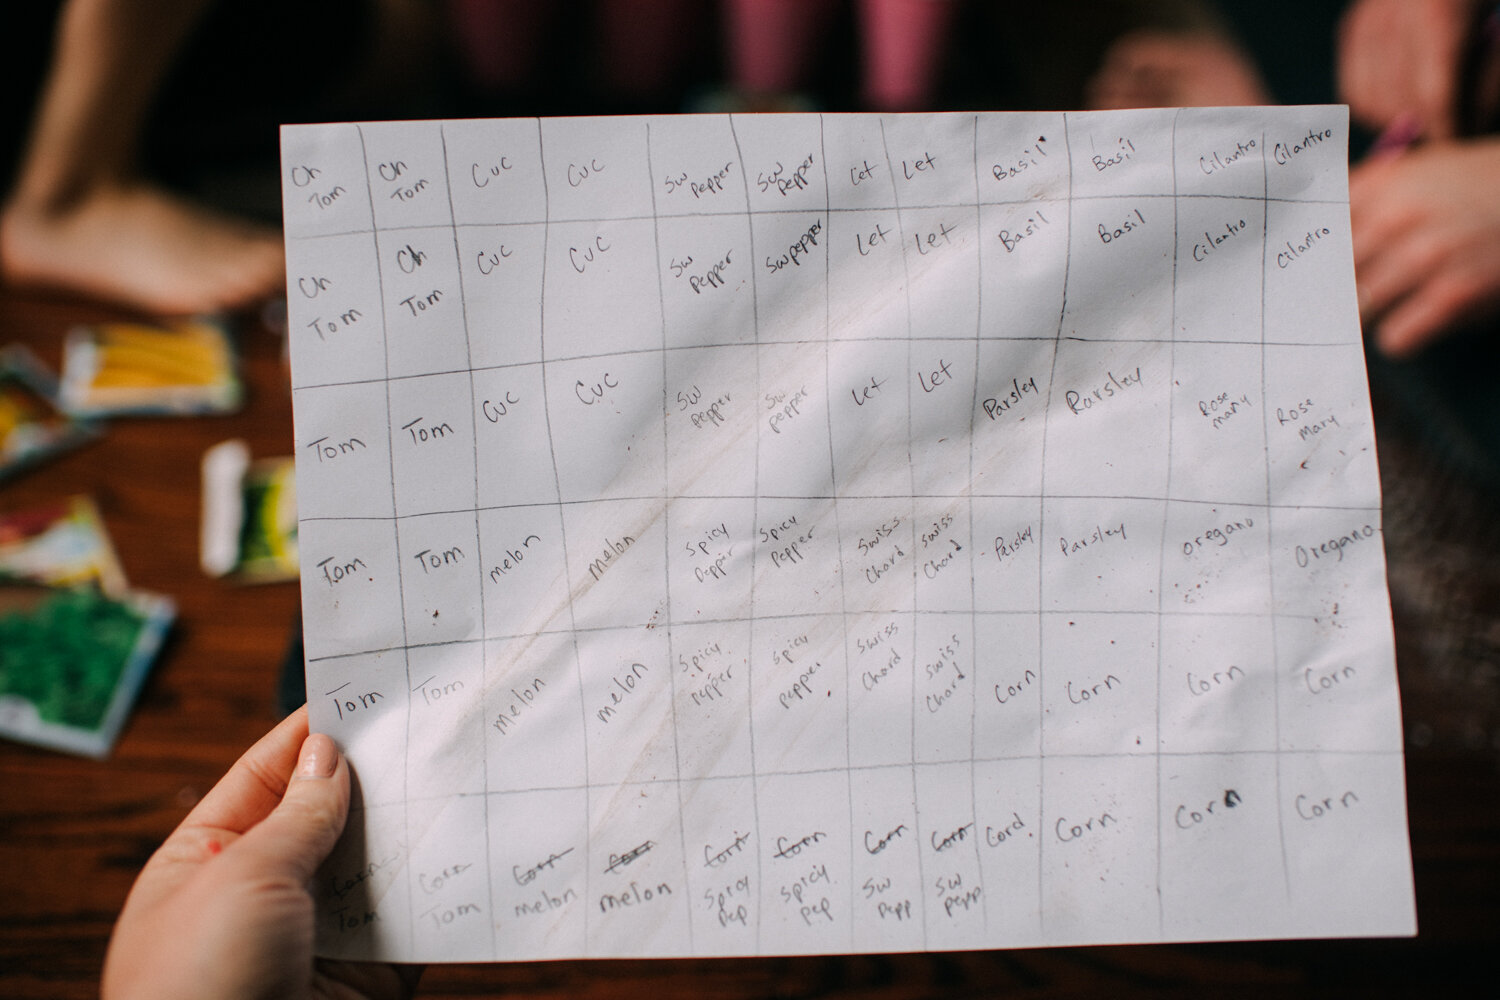
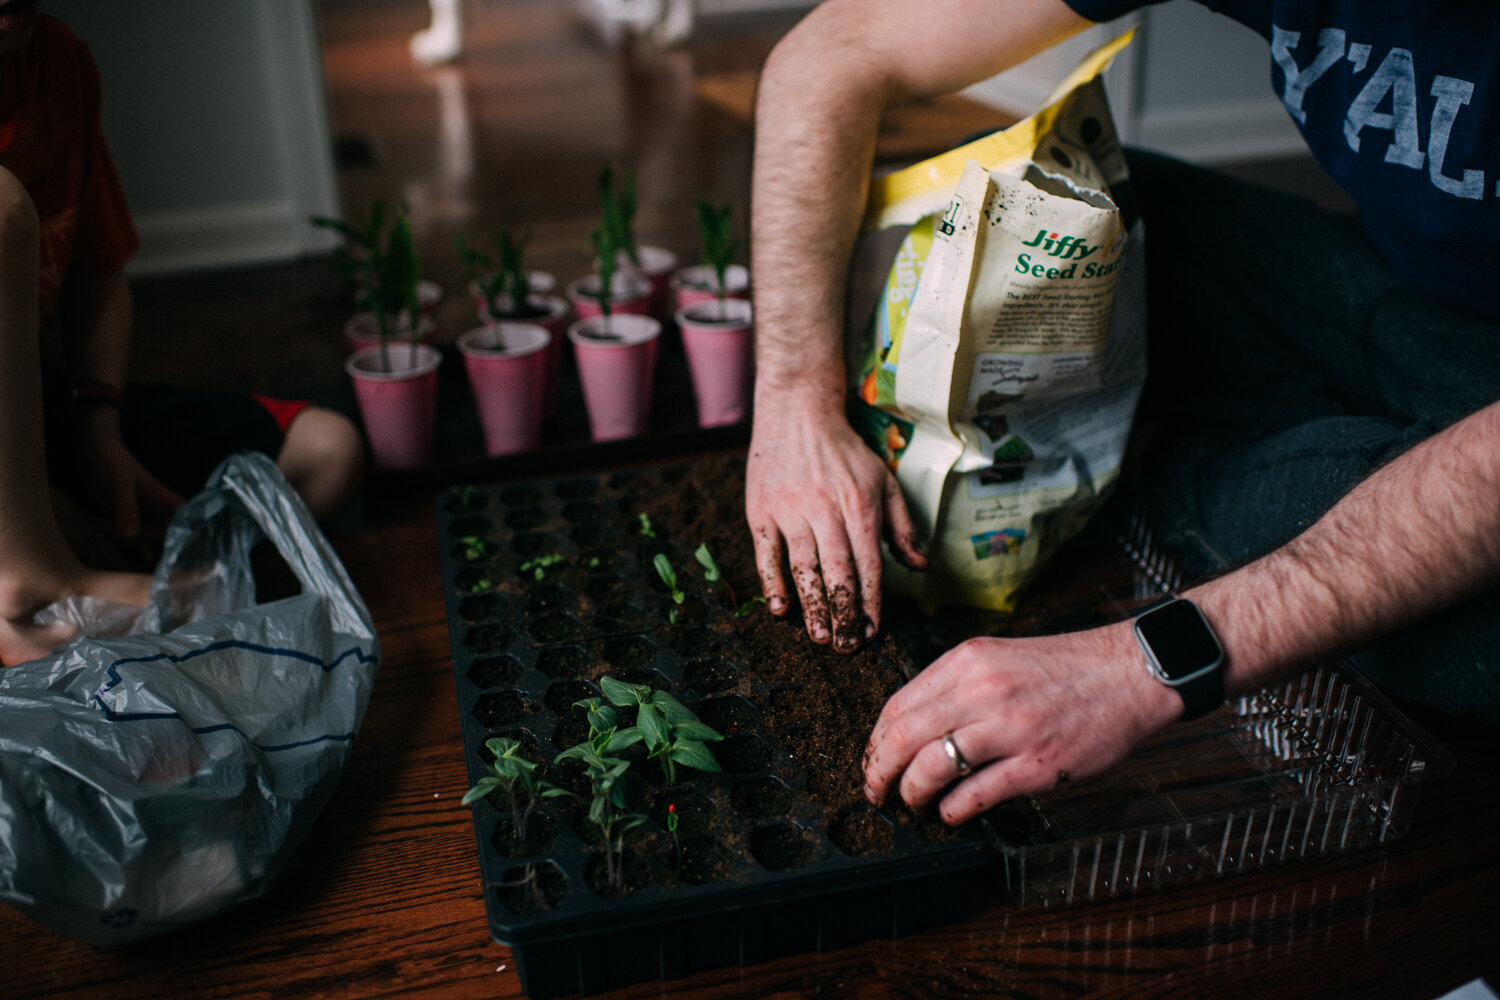
The more detailed version of what we are doing is this. Grab yourself a seed tray from the hardware store. (Probably any department store will carry them this time of year.) This tray has 72 slots, which admittedly is a LOT of seedlings for my family. I grabbed one bag of organic vegetable potting soil to fill the slots. To be honest, “organic” was the option on sale that day. I don’t have a strong preference here. Then I grabbed seeds. This one is tricky to do the first time or two. Knowing what seeds will grow in your yard, how much sunshine your projected garden gets outside, what food your family will eat, and eat regularly and other factors really go into seed selection. For now, pick things that need full sun, (thats most fruits and vegetables) and think of things you’ll eat. We eat a lot of tomatoes, cucumbers, peppers, spinach, lettuce, melons, and herbs.

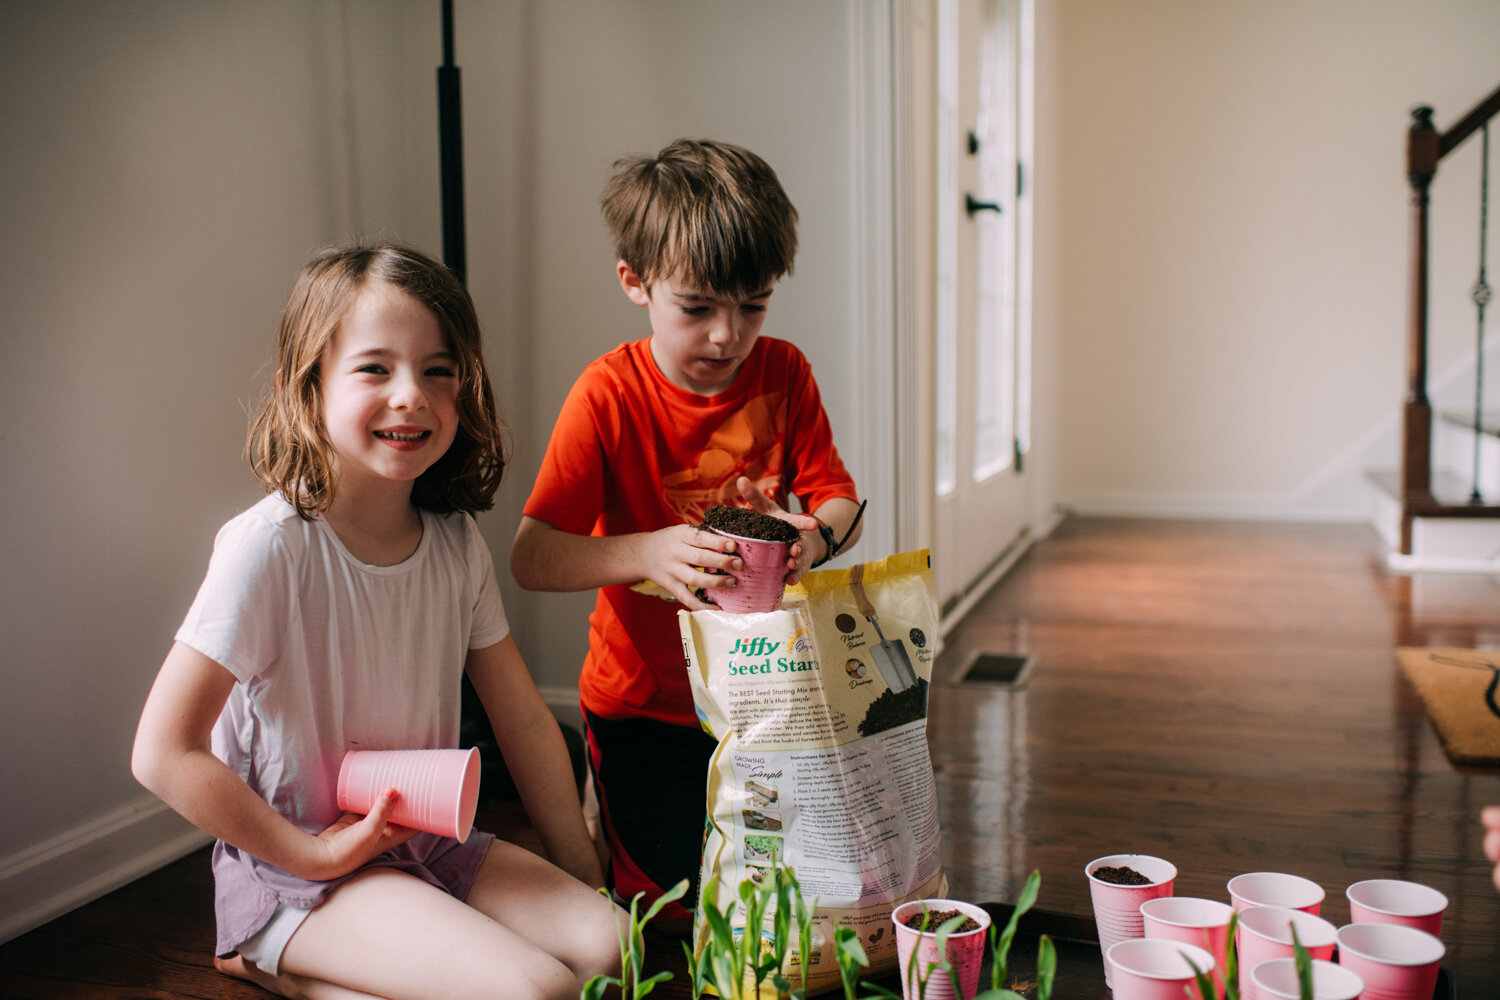
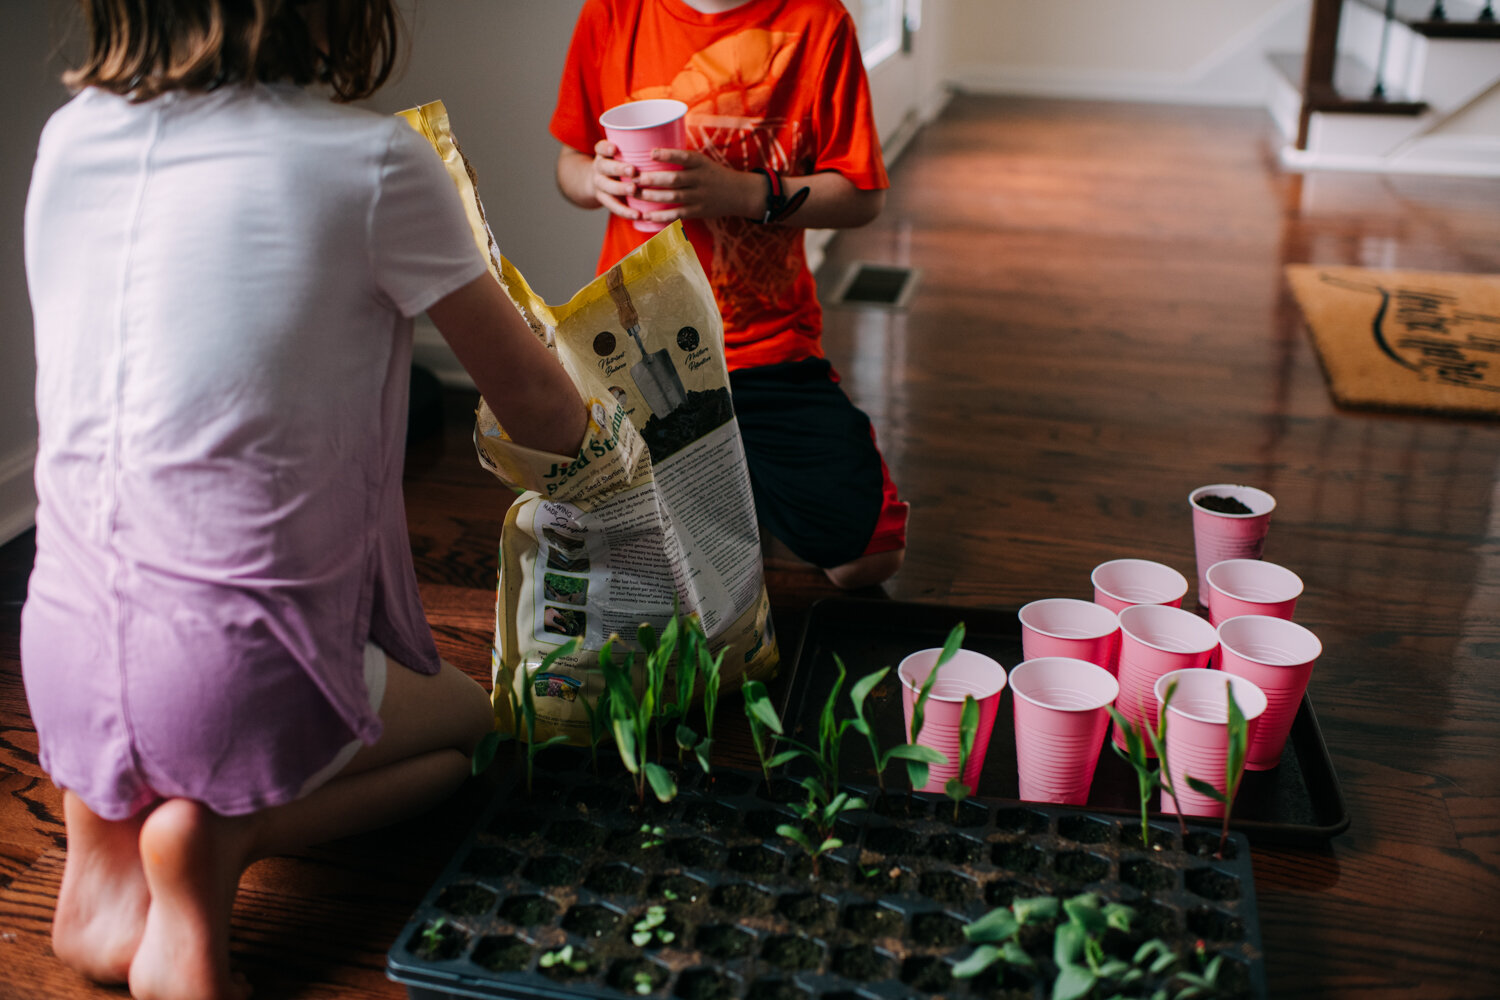
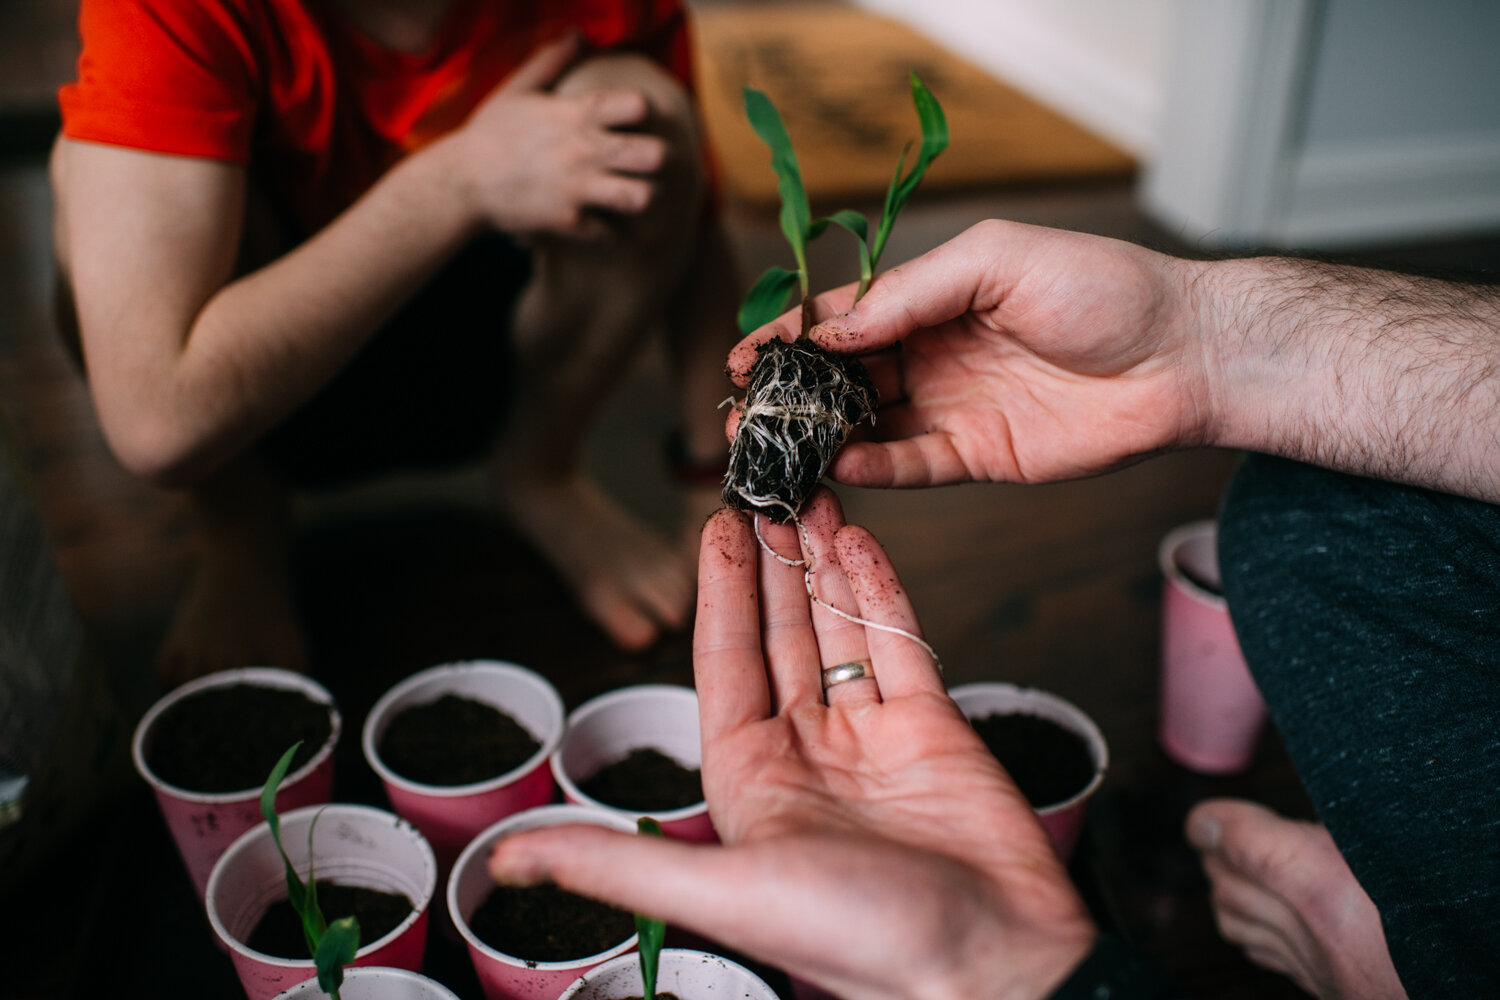
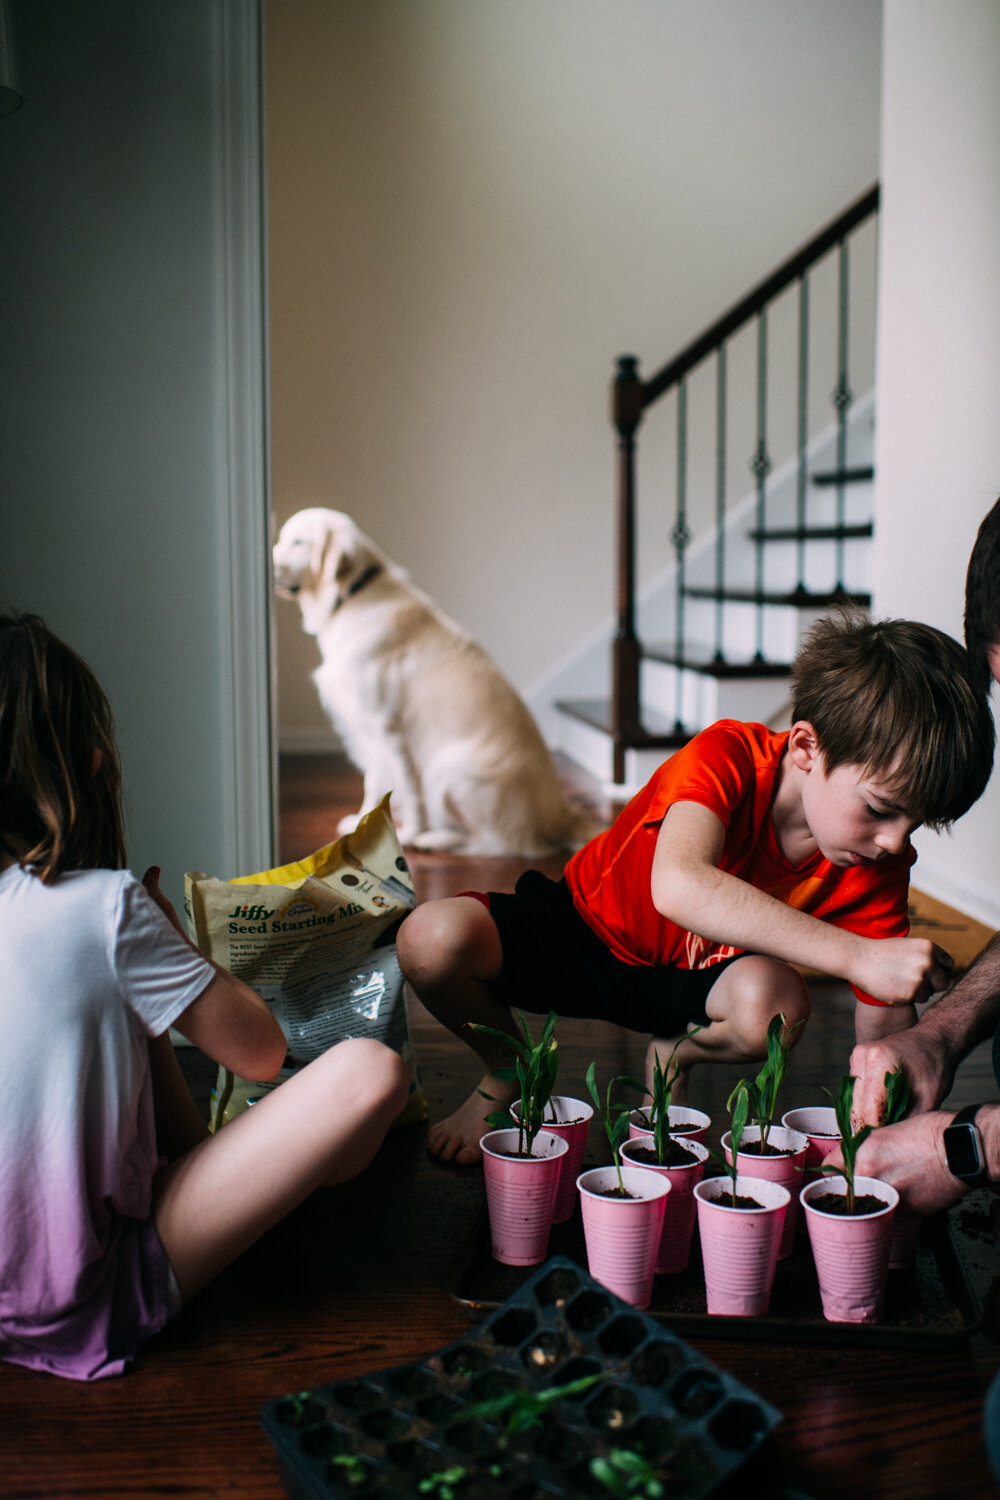
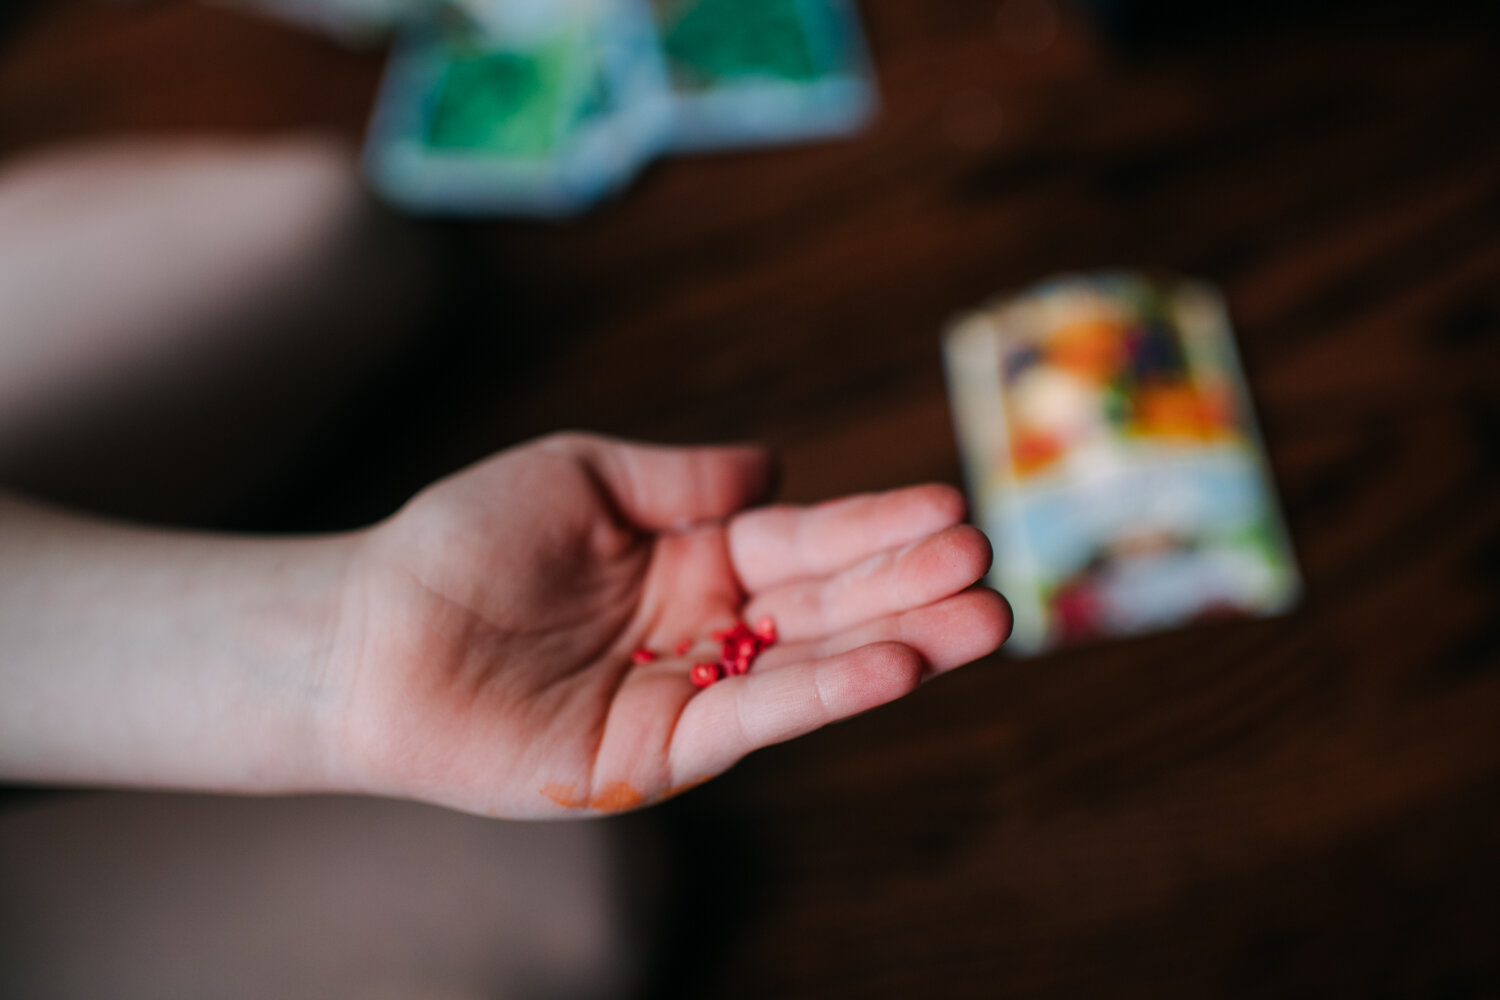
When you plant seeds, put 2 or 3 seeds in each cup. This is a fail safe for you. If one or more seed is dead, hopefully the other will grow. As the seedlings grow, you will need to thin it down to one strong seedling per pod. This is normal. Don’t sweat it. Save the nutrients in the dirt for the healthiest one that sprouts. Once your seeds are planted you need to give them a little water. Keep the soil MOIST (yeah, I said it) but not wet. And put the cups in a bright window. We are using grow lights from an old AeroGarden. The AeroGardens are amazing indoor planters, but cost a fortune. And honestly they limit the number of seedlings you can sprout to 7-9. So I’m simply using the lights above my tray this time around.

As your seeds grow, you will need to transplant them to bigger cups from their slots in the tray. Keep them indoors until all risk of frost has passed. About a week or so before you put them outside, you need to “harden off” the seedlings. This simply means put them outside for 8-10 hours a day and bring them in at night. It gets them used to the temperature change of the outdoors. Once they are hardened off, you can plant them directly into the soil at the appropriate distance (social distance?) from each other. The seed packages will have all the planting and sunlight details on them.

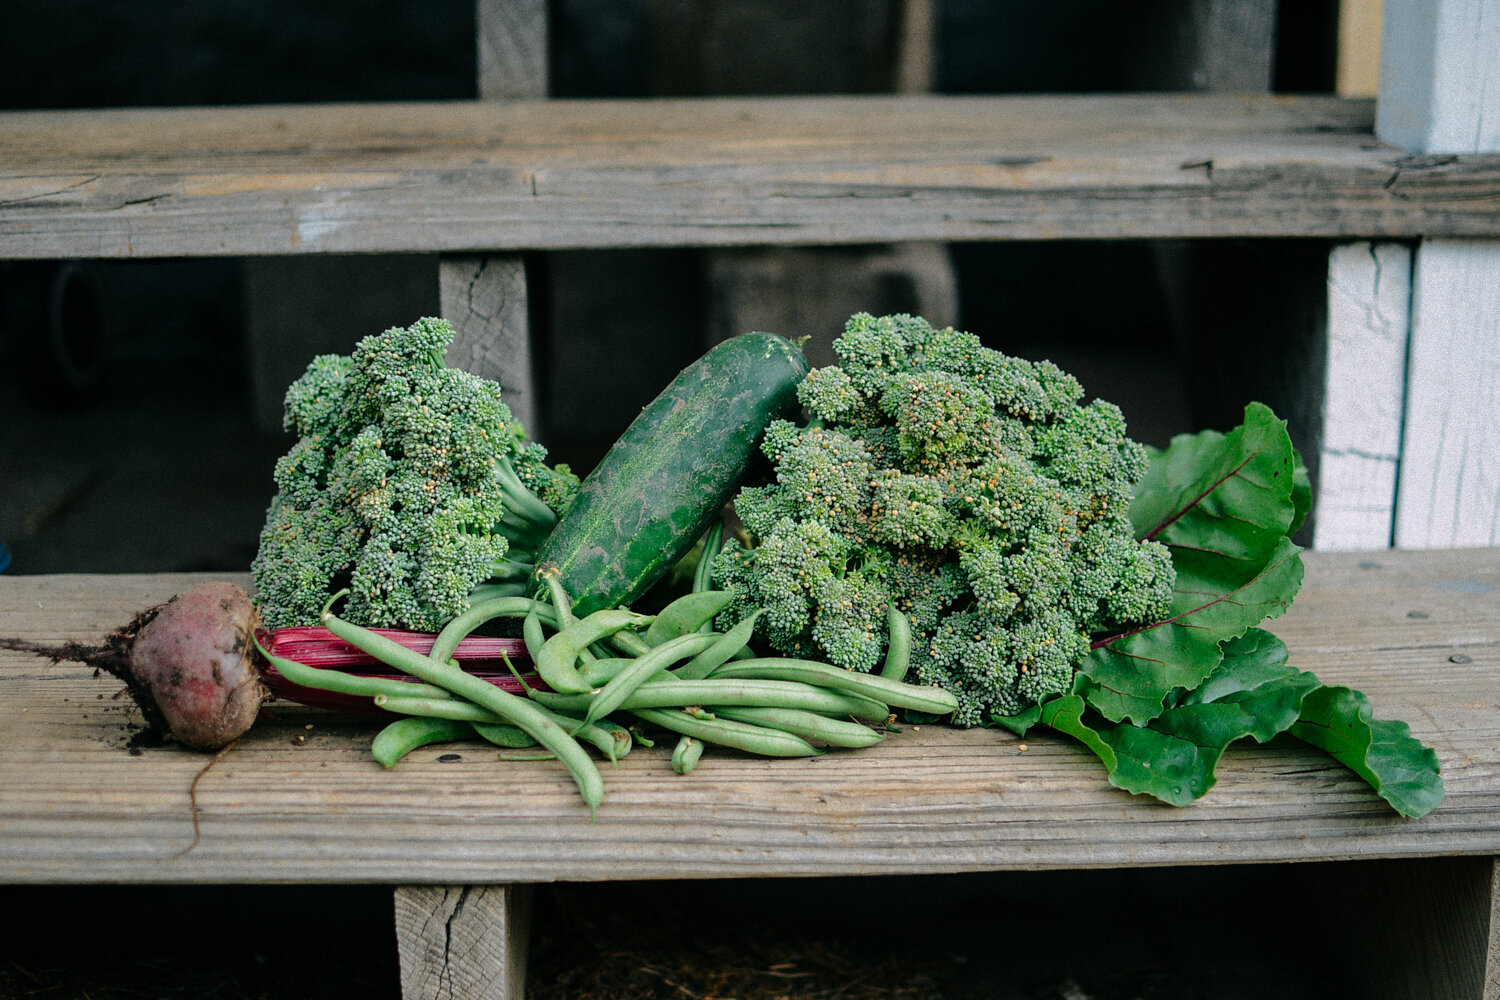
This year we are growing some of our favorites, tomatoes, cucumbers and peppers. And adding some new things to try like carrots and swiss chard. The newest goal for this springs garden is to create a rhythm of planting so we are daily harvesting and replanting to keep a steady stream of food, instead of a massive harvest with too much to eat at one time.

Lara Casey is one of my favorite authors and I love her heart for the Lord. In an excerpt from her book, Cultivate: A Grace-Filled Guide to Growing an Intentional Life, she said this:

The world says do more, grow fast, be big, use these tricks, analyze, do it like those people, get ahead. But that’s not how good things take root. Maybe, despite what everyone tells you, slow is richer than fast. Maybe a slower pace will help your roots stretch deep and wide. It’s okay to grow slow.

I always feel like I resonate SO much with her words, her philosophy, and I just wanted to share even a snippet of her wisdom. GOOD things take time. A slow pace is not bad. We need roots, we need to be able to stretch, to grow, to replenish our nutrients. And you know what…? Right now, when the world seems to be at the quite possibly the largest stand still it has ever been in MY life, maybe this is THE perfect time to work on growing slow.

Friends, order some seeds or get them from your local grocery store if yours are still open, and just start. See what takes sprout, and where it goes from here. And if you have questions—email me! Asa is so awesome and kinda geeks out over this stuff :)

ashley glass blog

How to Make your Own Play Dough + Add Essential Oils

ashley glass blog

We’re all in this together. Stuck at home. Unsure of what’s going on in the world. Trying to avoid spreading germs and keeping those at risk around us SAFE. So with that comes a LOT of time. Our kids are in first and second grade and they love school. Their teachers are phenomenal, and daily they were being challenged to excel and shine in their every day lessons. We know that while we may not be first and second grade specific teachers, that our kids are blessed to have TWO teacher parents, who are able to be hands on and attentive during this time at home. We do not take this lightly, nor do we take it for granted. Prayerfully, nor do they…

Today after their math and reading lessons we wanted to do a fun science activity. We have been talking a lot about using resources that we already have on hand at home, so when they recently realized that their own store bought Play-doh was pretty dried up, we were inspired to make our own. The kids were so intrigued and Y’all, this was SO easy!

ashley glass blog

Here is what you would need:

  • 1 cup of water

  • 1 tablespoon of coconut oil (or I have read that vegetable or olive works)

  • 2 teaspoons cream of tartar

  • 1/2 cup of salt

  • 1 cup of flour

  • food coloring of choice + essential oils

You will mix everything together in a sauce pan on the stove over low/medium heat. For us it took less than two minutes to have it all stirred in and at that dough like consistency. We let it cool, then brought to the table to let the kids get started!

I saw this recipe from my friend Casey on Instagram, she is the QUEEN of DIY with her adorable girls and she is such a fun and totally real mama. (Check out her blog HERE!) Using Essential Oils to add to the homemade play-dough made this activity even more enjoyable for us as a family. We are treading through uncharted territories with this COVID-19 and stress levels can get quite high. Essential Oils in general tend to help support our emotions and today they definitely boosted our spirits AND made our house so delicious smelling. We used lemon, lavender, peppermint, and last minute I grabbed the ylang ylang to add to our pink play-dough.

Did you know that all of those oils have a huge variety of benefits when we use them!?
Lemon: refreshing, energizing, uplifting AND has anti-fungal properties
Lavender: also has anti-fungal and microbial properties, is calming, and uplifting
Peppermint: energizes, disinfects, largely energizing, and is a great oil to boost spirits
Ylang Ylang: “flower of flowers,” this one is a big mood enhancer and stress reducer and it smells heavenly!

ashley glass blog

We added about 5-10 drops of the chosen essential oil to each mound of play-doh, and overall, this activity was a WIN. The kids thanked us several times throughout the day for making it with them, they played with it super often, and the density and texture of the play-dough was spot on. Even if you don’t have kids, I still recommend making this. What a great sensory activity for you to do AT HOME, while you have a LOT of time on your hands. If you are local reading this and don’t have oils but would like to try them? E-mail or text me and I’m happy to gift you some samples. We can even practice our social distancing skills and I can leave them on the porch or in the mailbox for you ;) Seriously though. Need oils? Holler at your girl. And if you try this recipe, will you please tag me in any Instagram or Facebook posts/stories you may do!? Find me at Instagram here!

Praying for all of you, sincerely! Thanks for reading and browsing through these photos. As always, hit reply or contact me through this page.